


Blog
How to Make a Dog Collar: Step-by-Step Guide
Jul
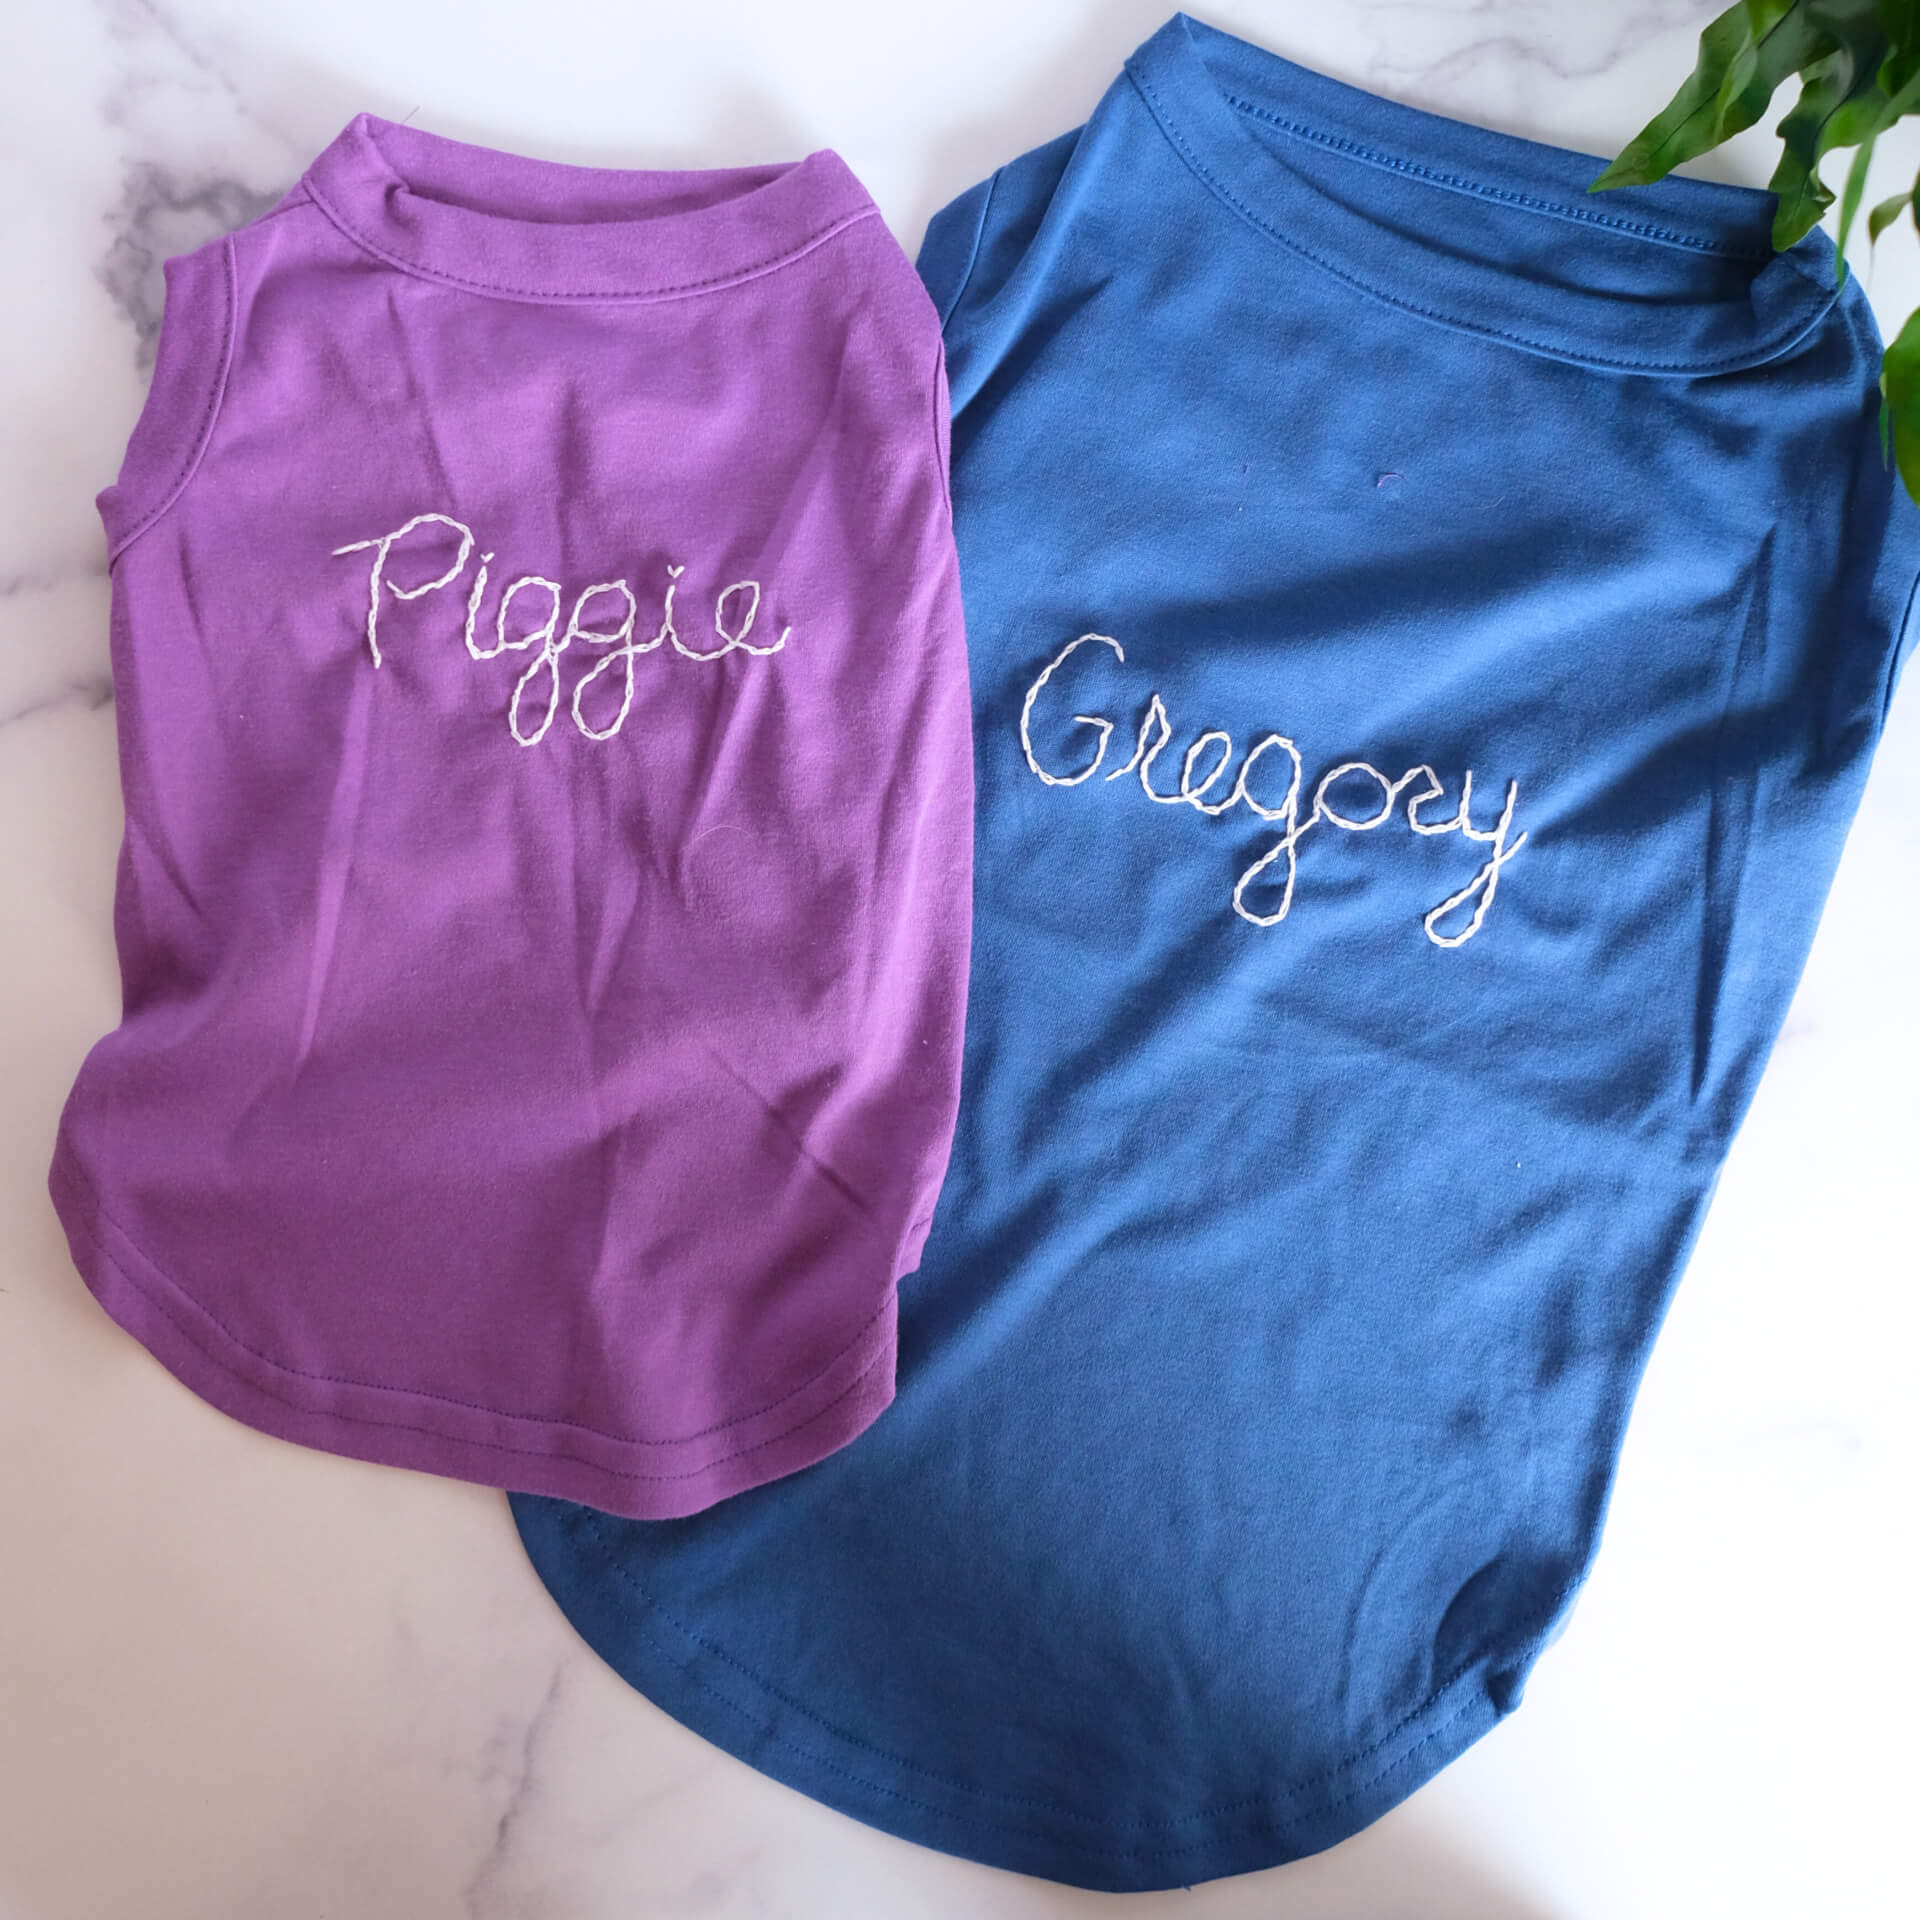
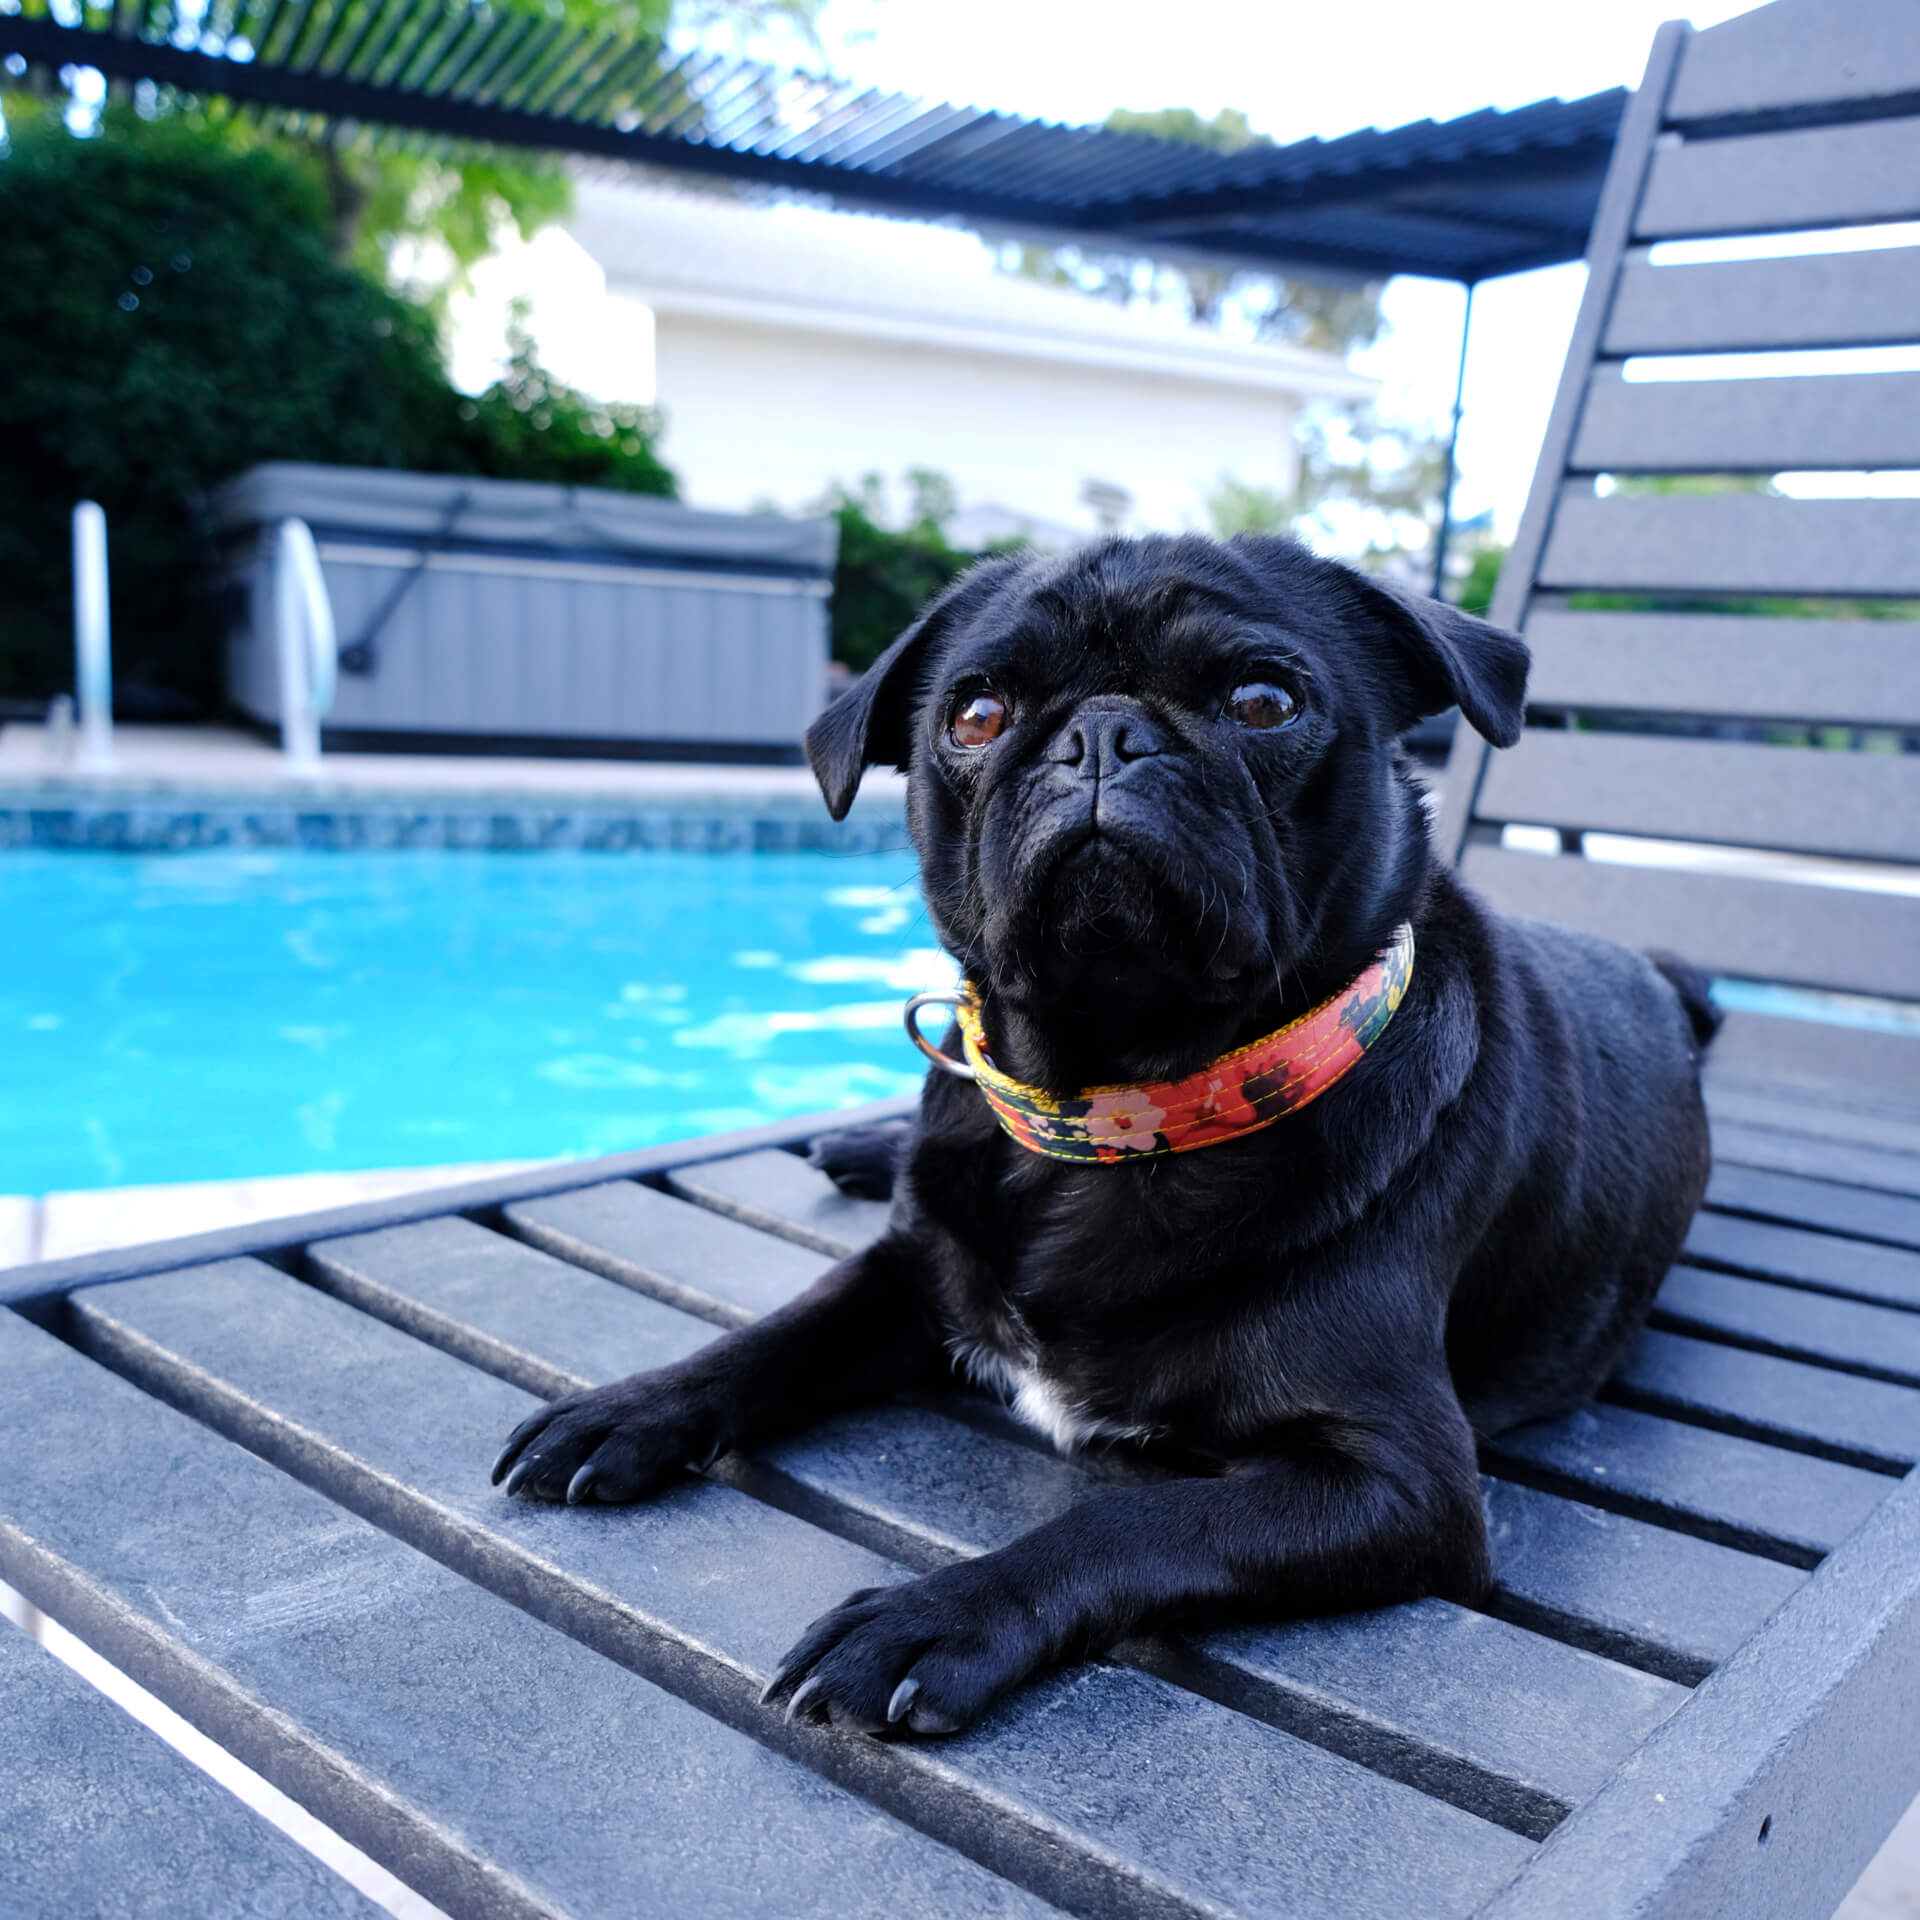
Making your own dog is the perfect chance to create a customized accessory that fits your pup’s unique personality. You can also make sure the collar is the perfect size for your dog’s neck and is made from the high quality materials your furry friend deserves.
Is it your first time making a DIY dog collar? Don’t fret! Mimi Green shows you how to make a dog collar in the steps below. It is important to note, however, that making a dog collar following these steps requires experience using a sewing machine.
DIY Dog Collars: Before You Get Started Making Your Own Dog Collar
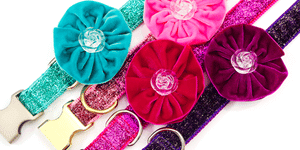
1. Choose Your Materials
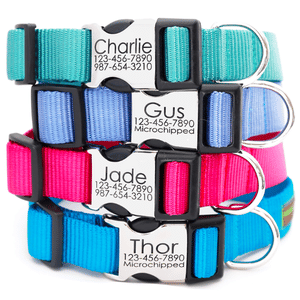
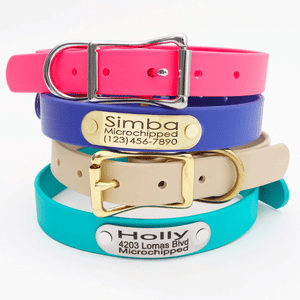
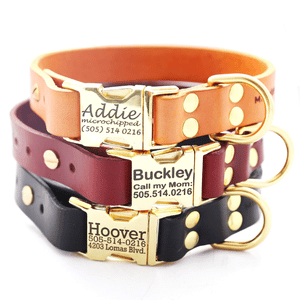
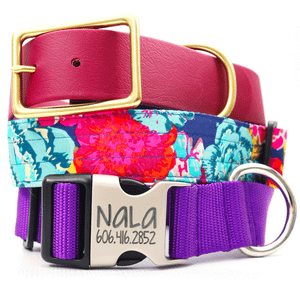
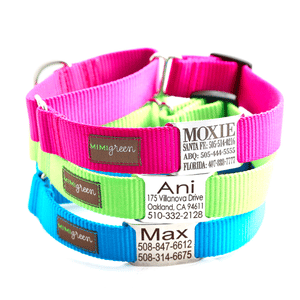
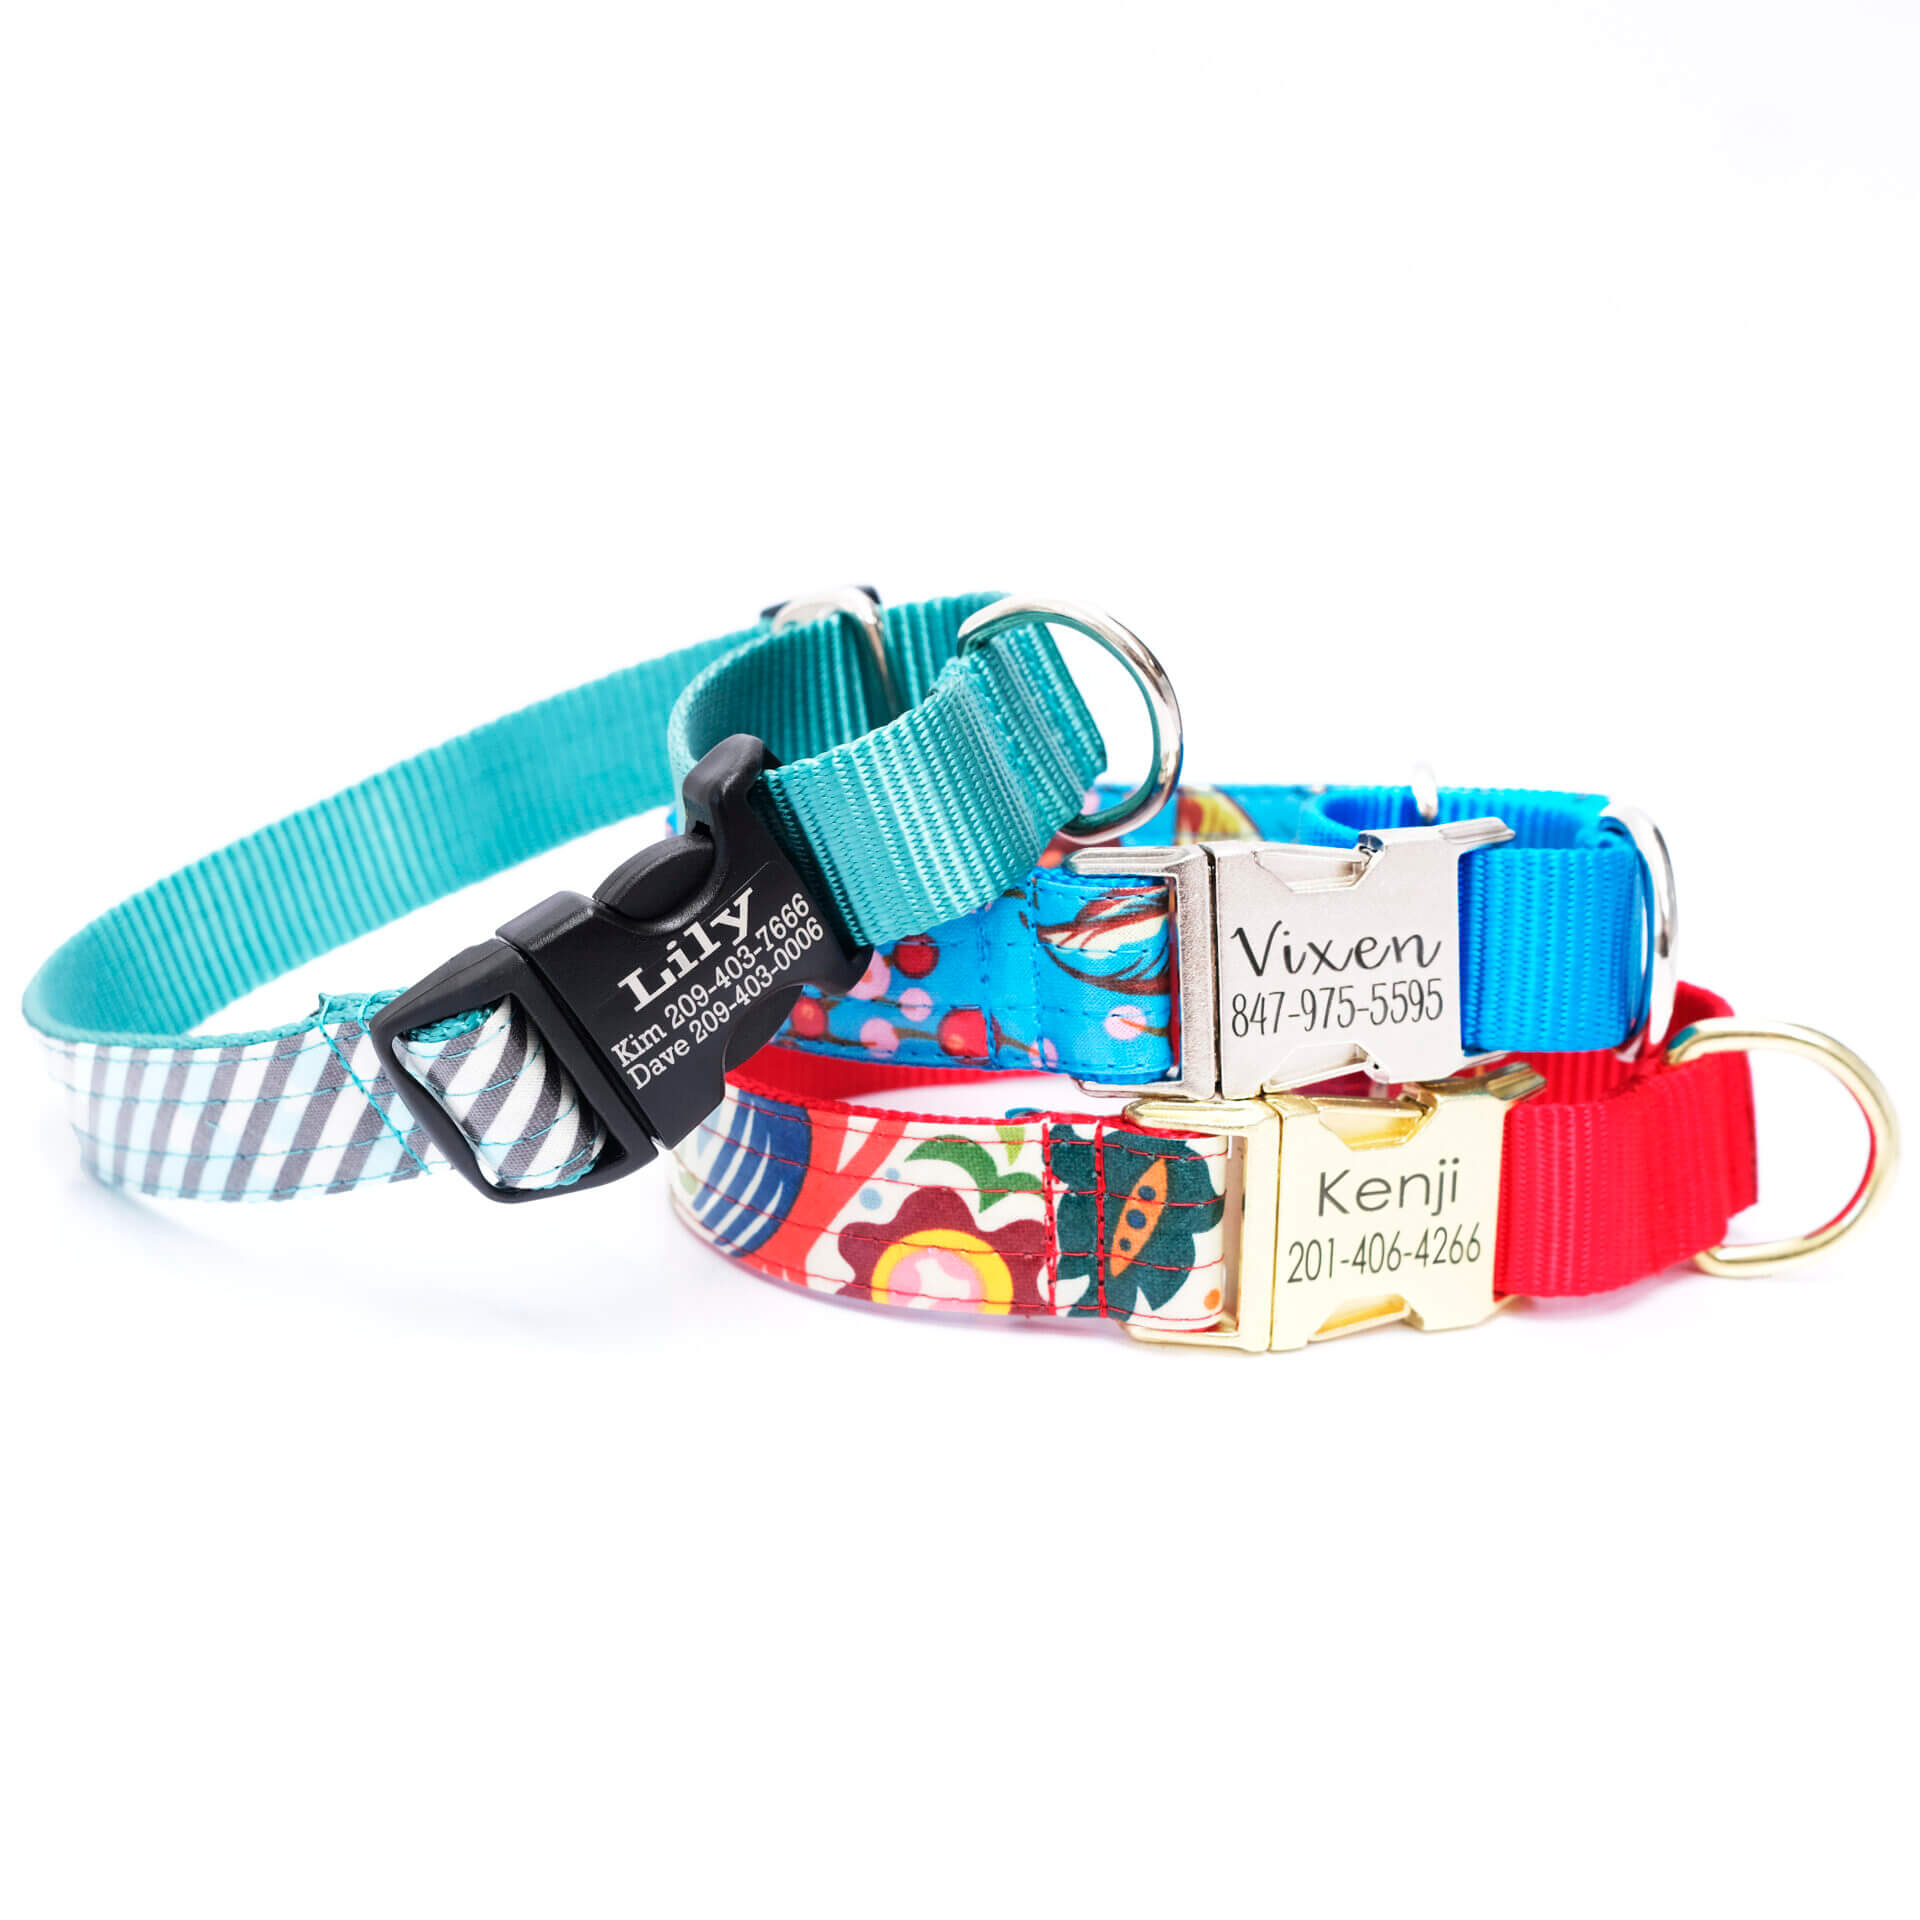
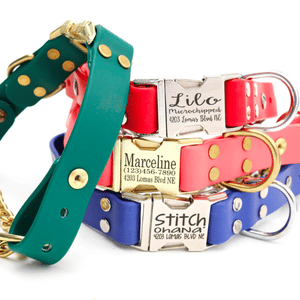
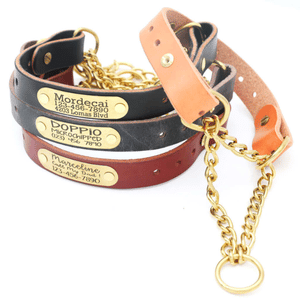
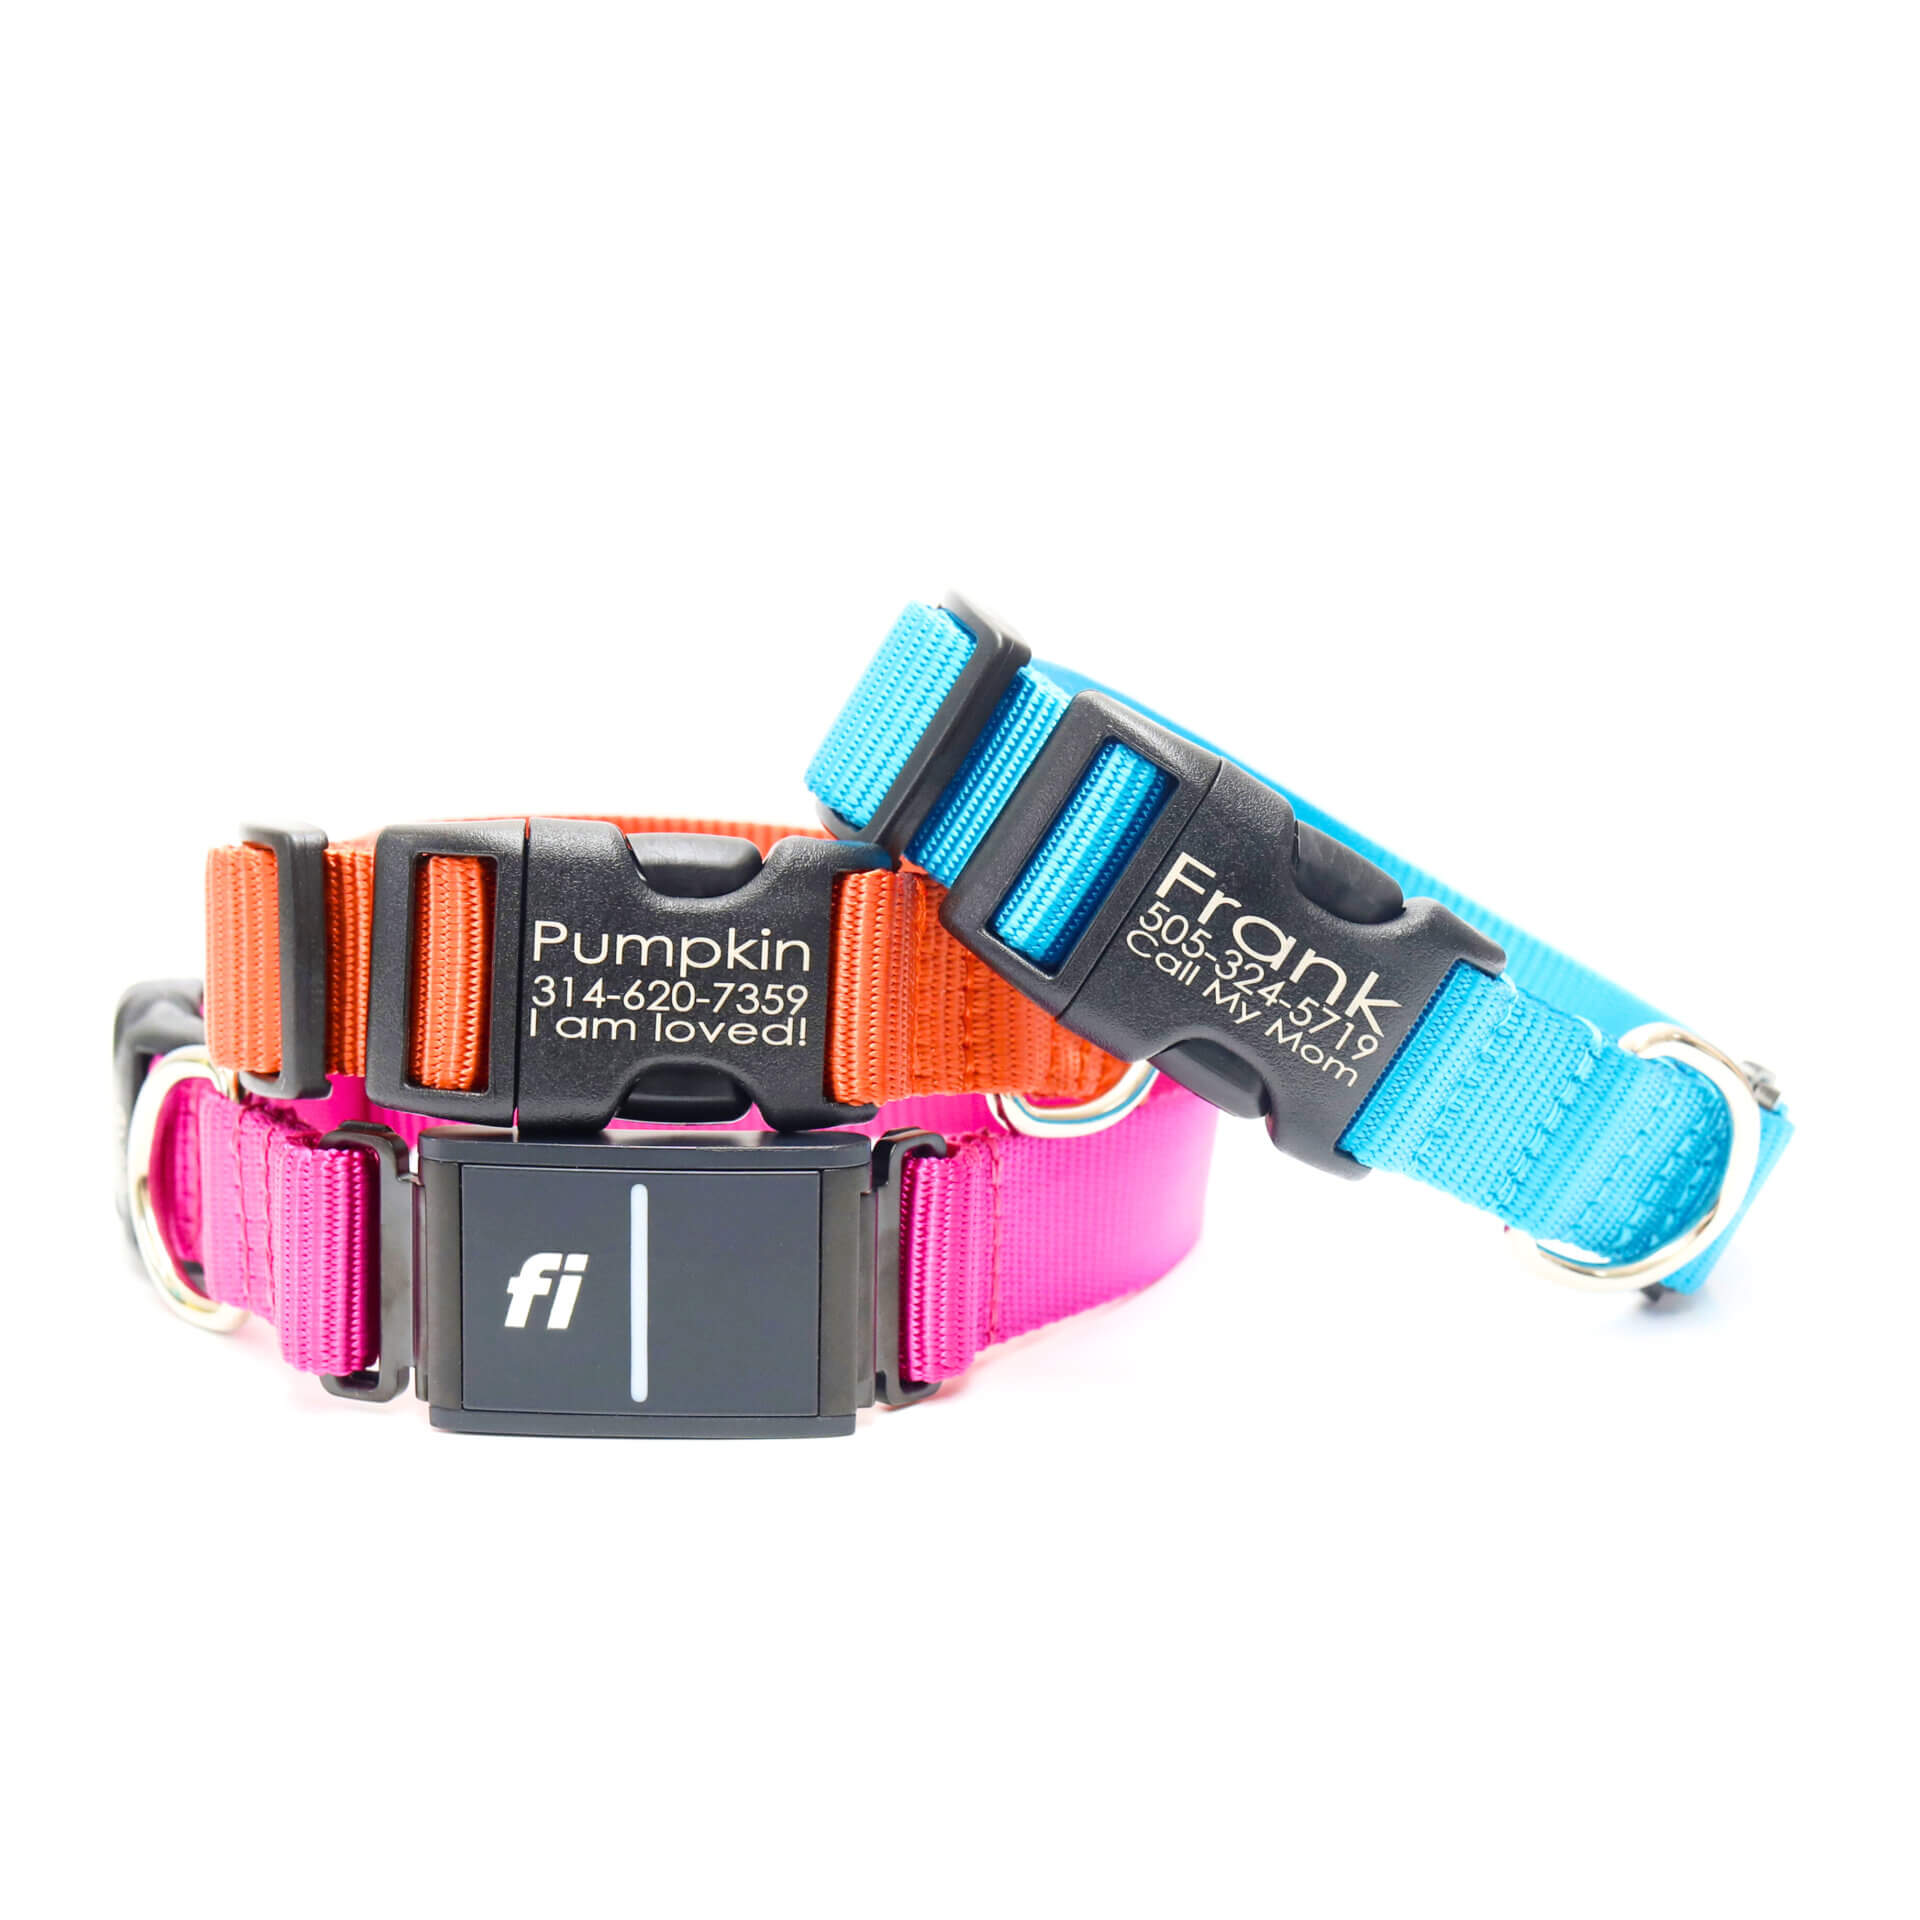
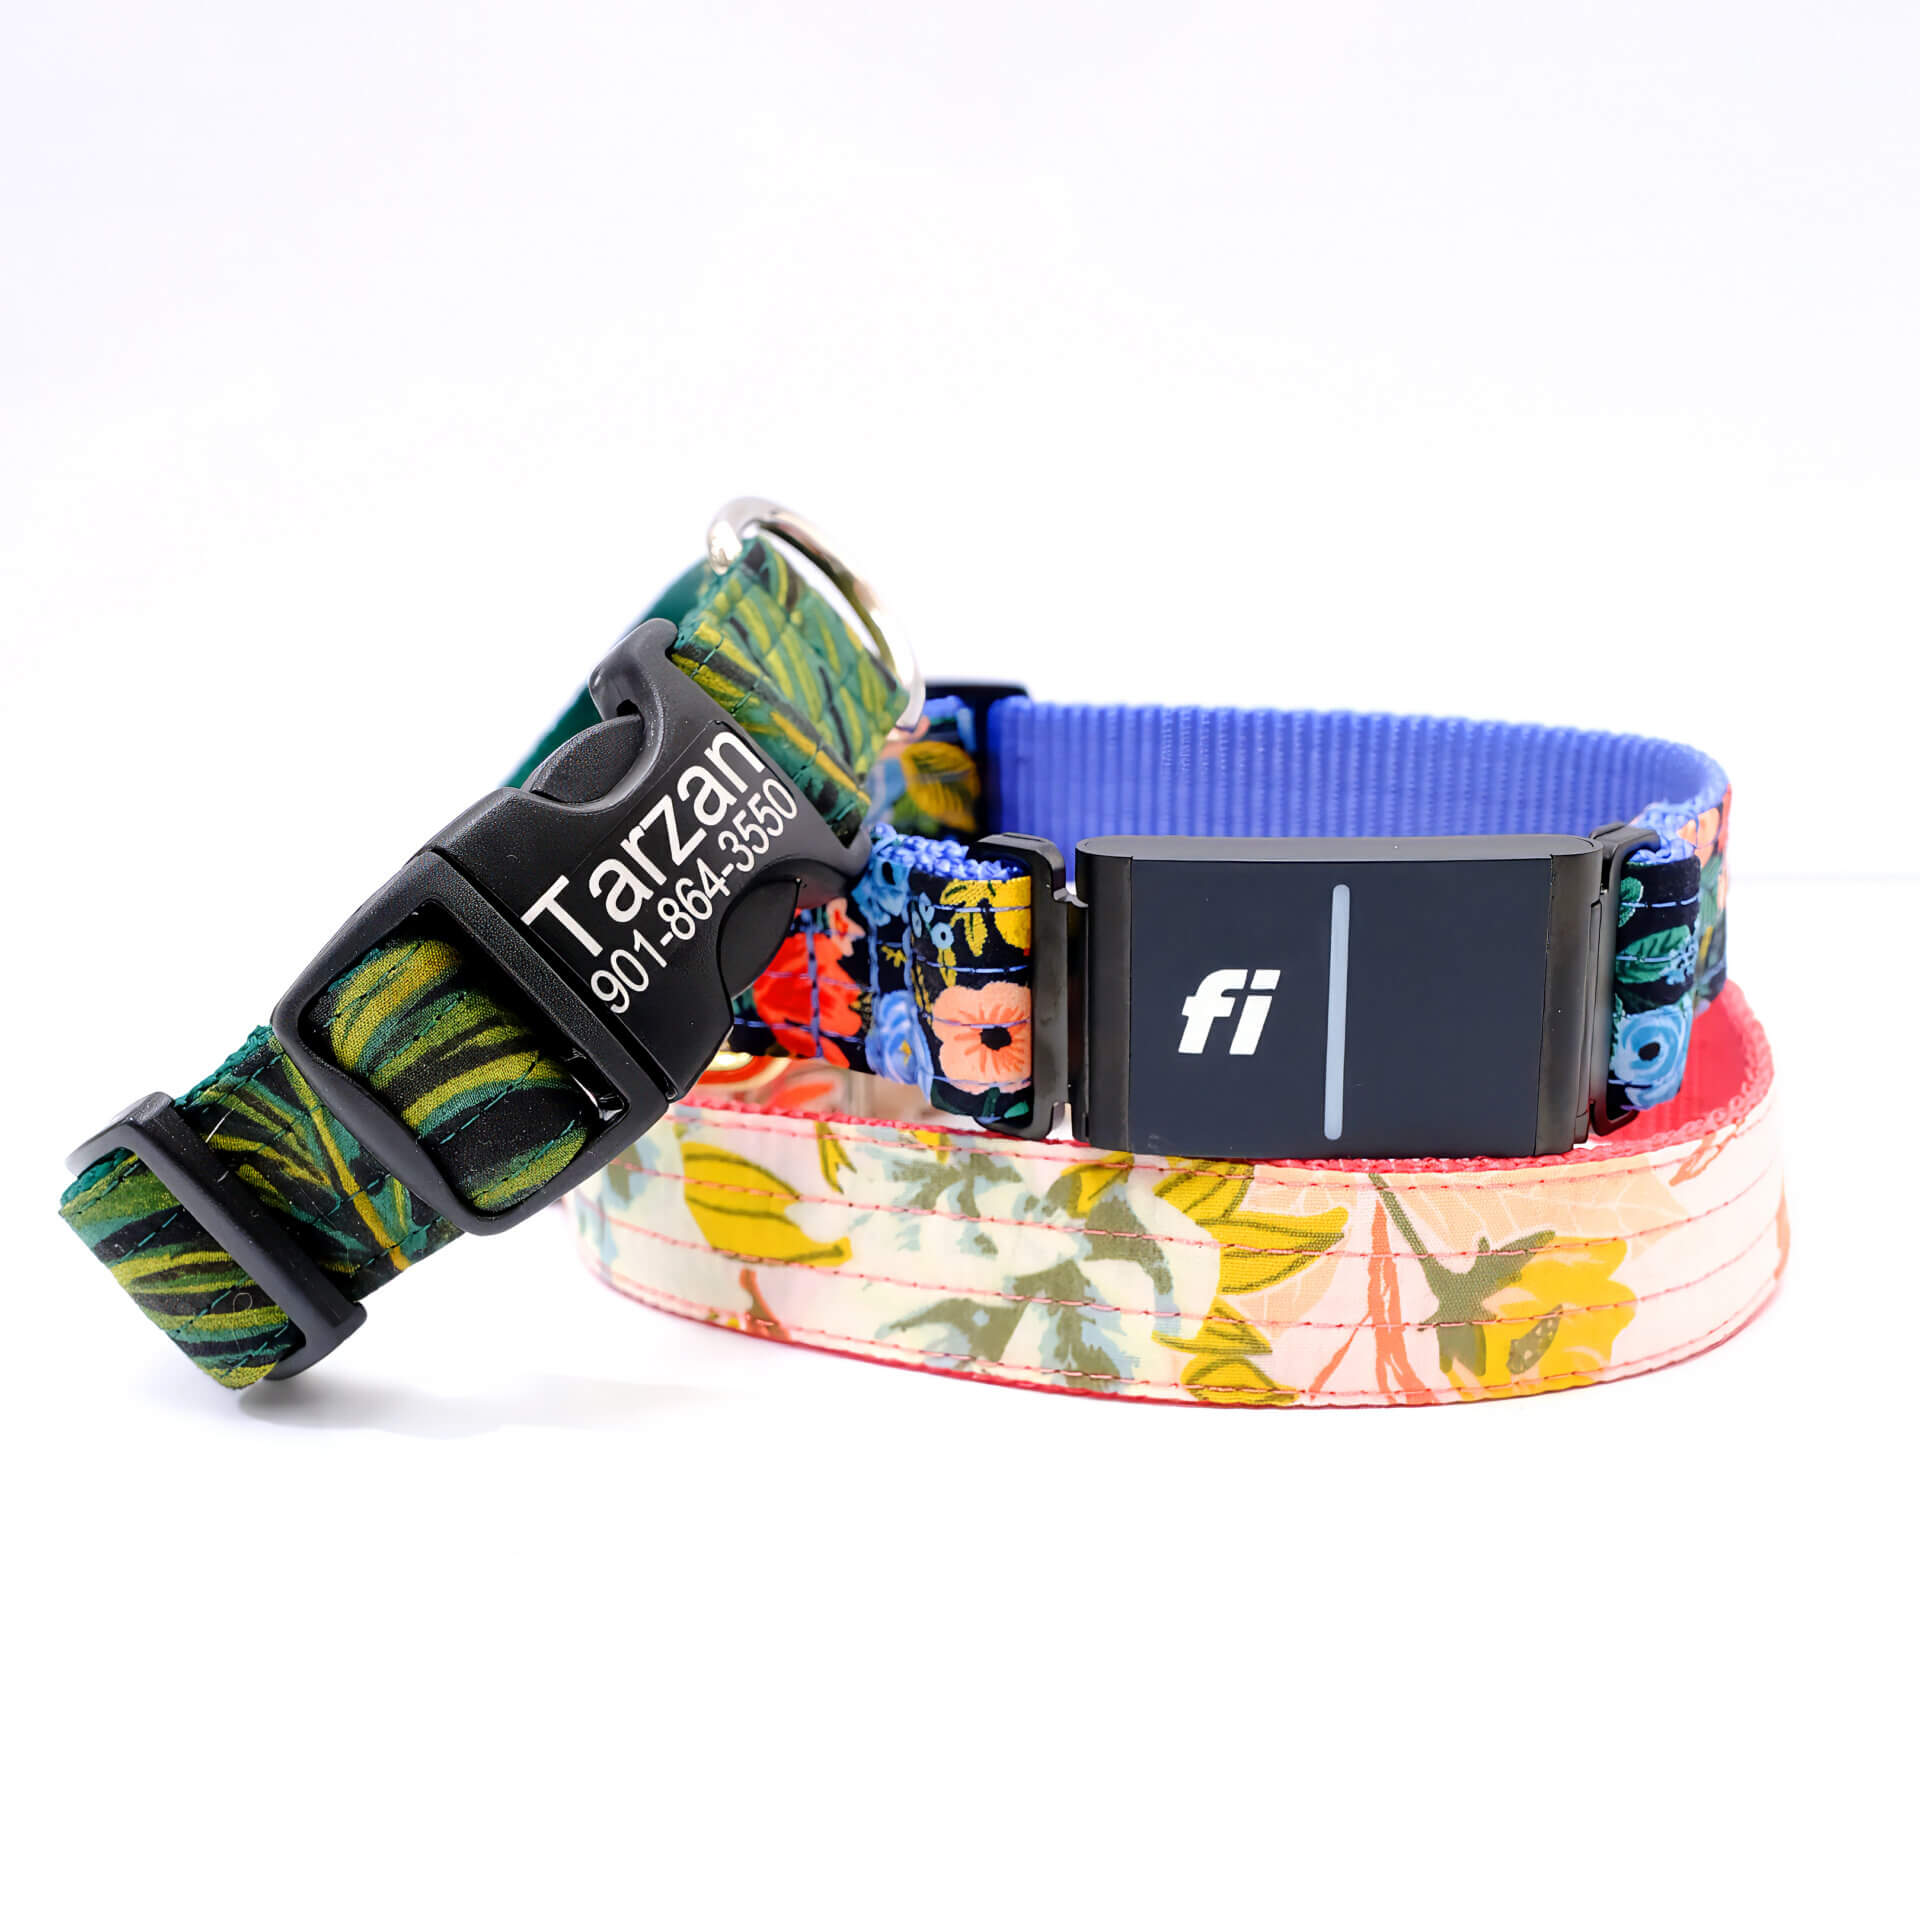
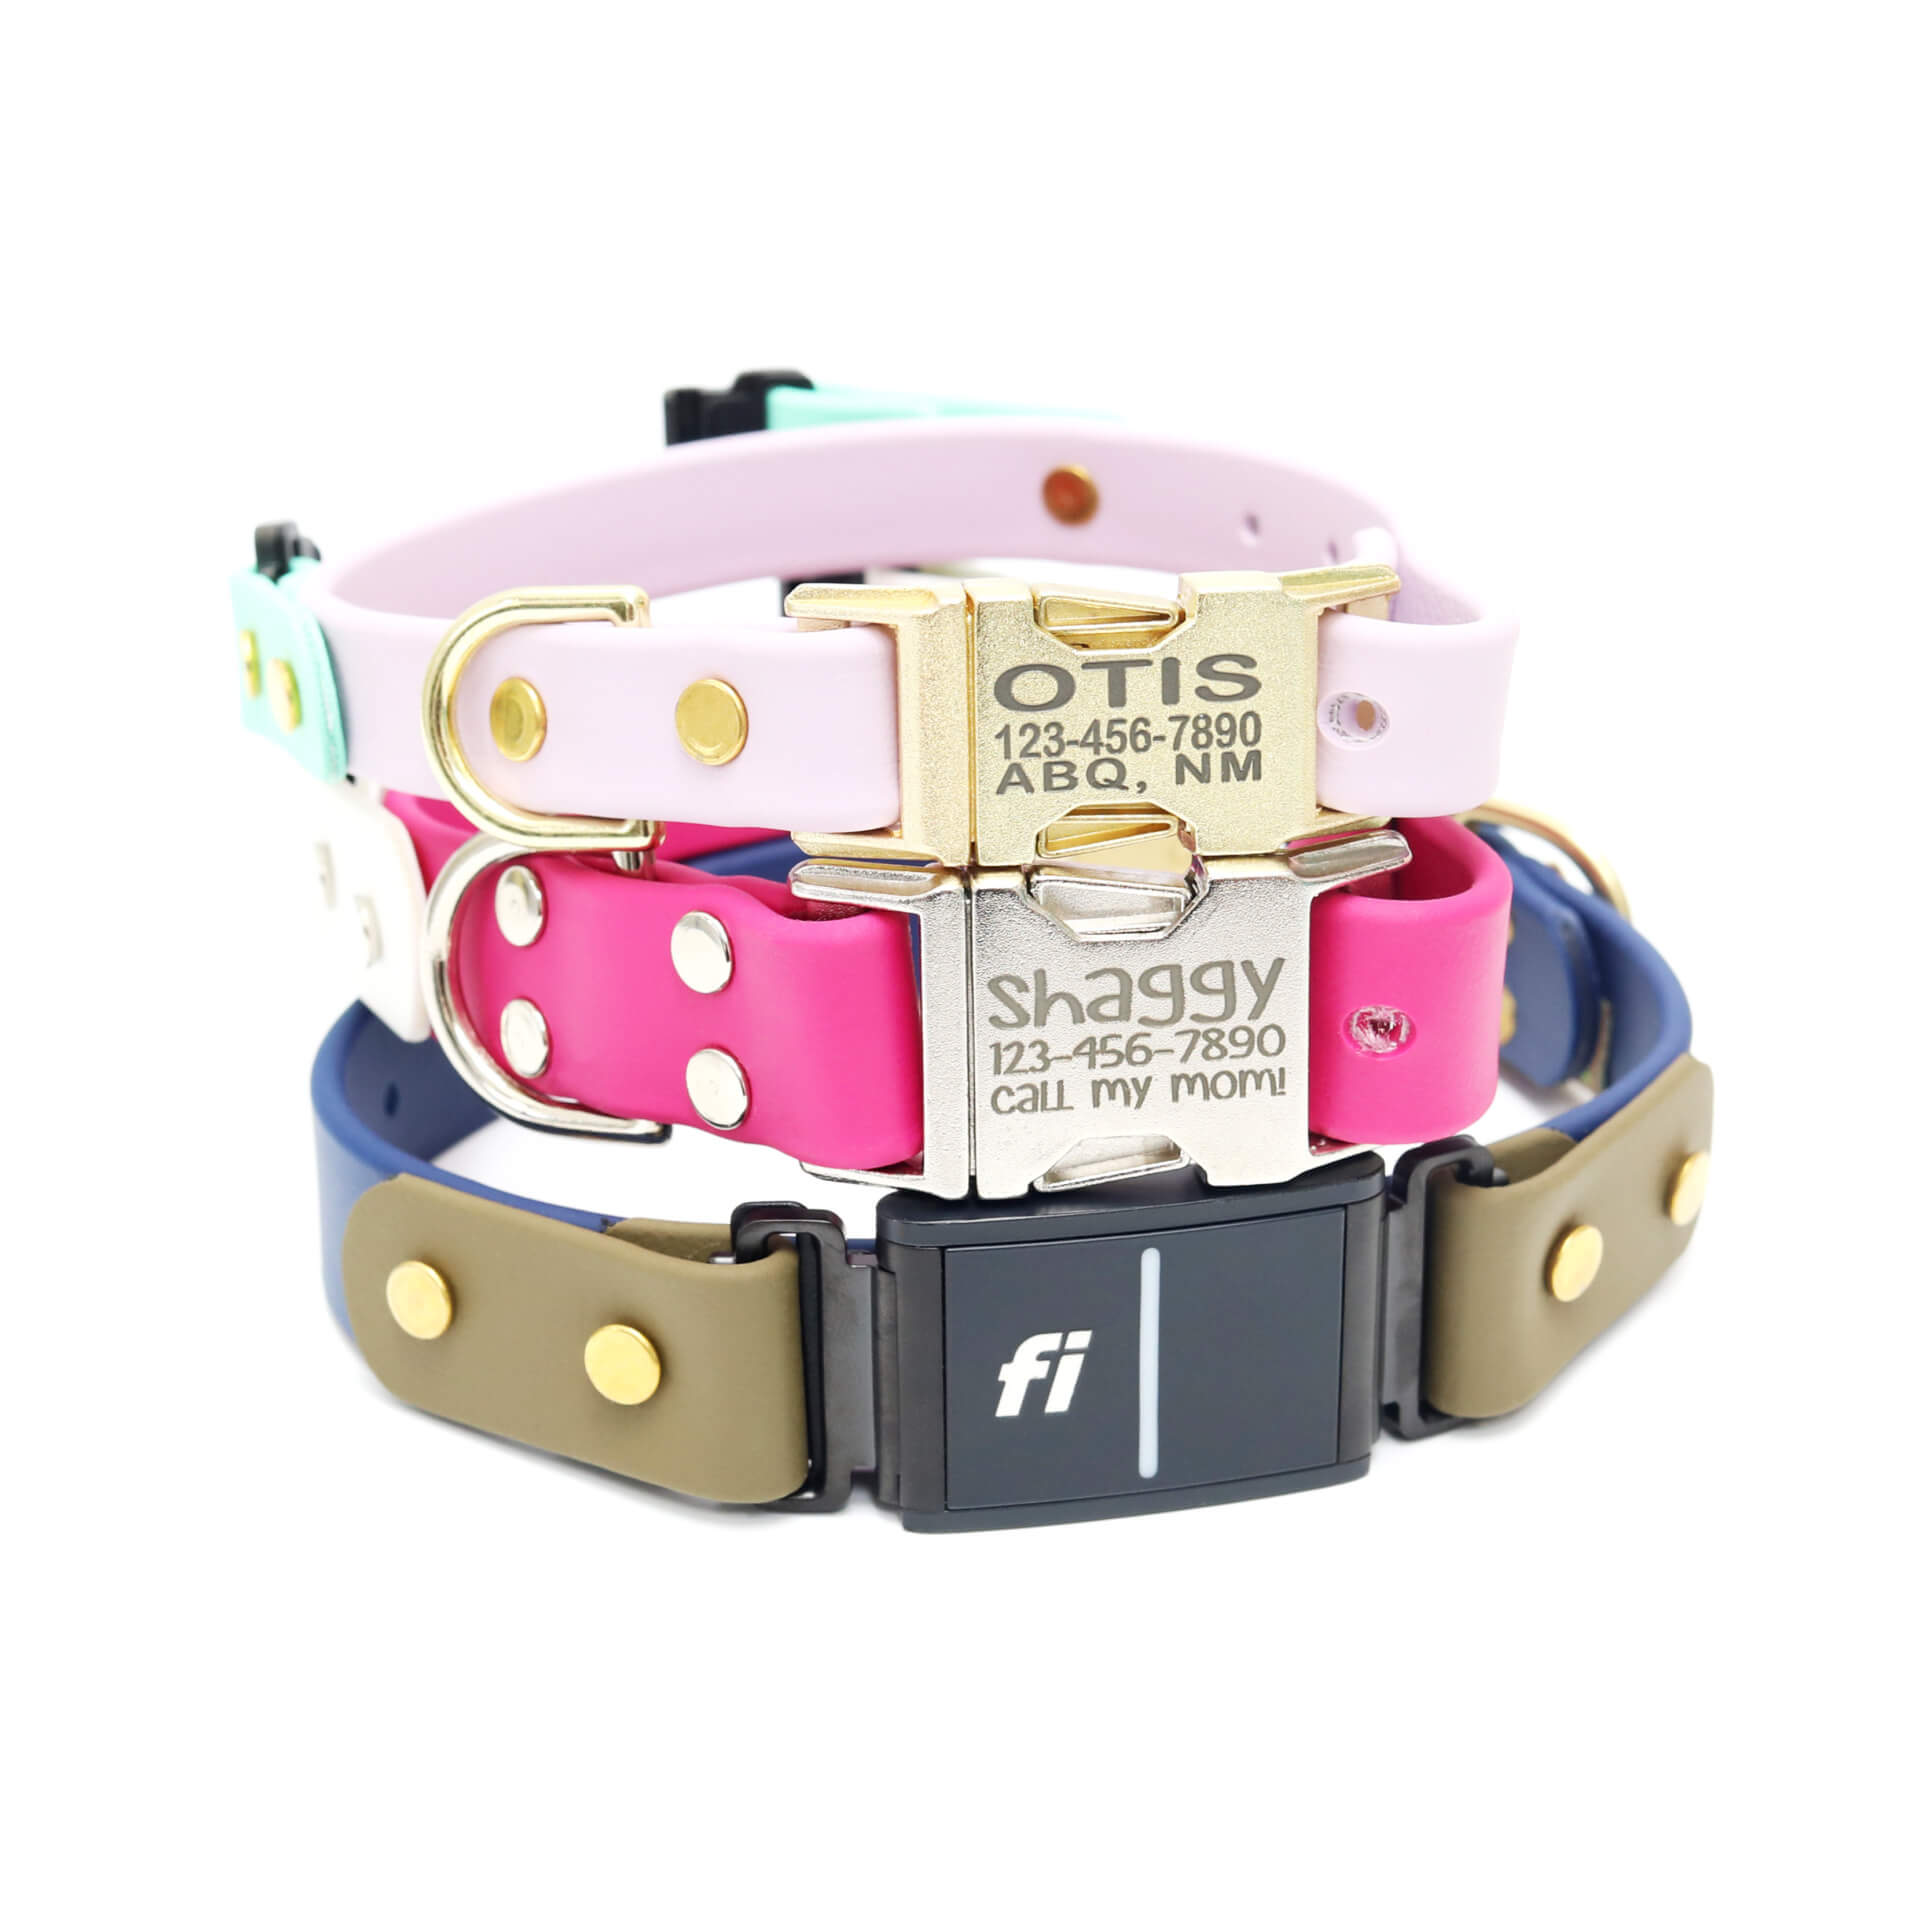
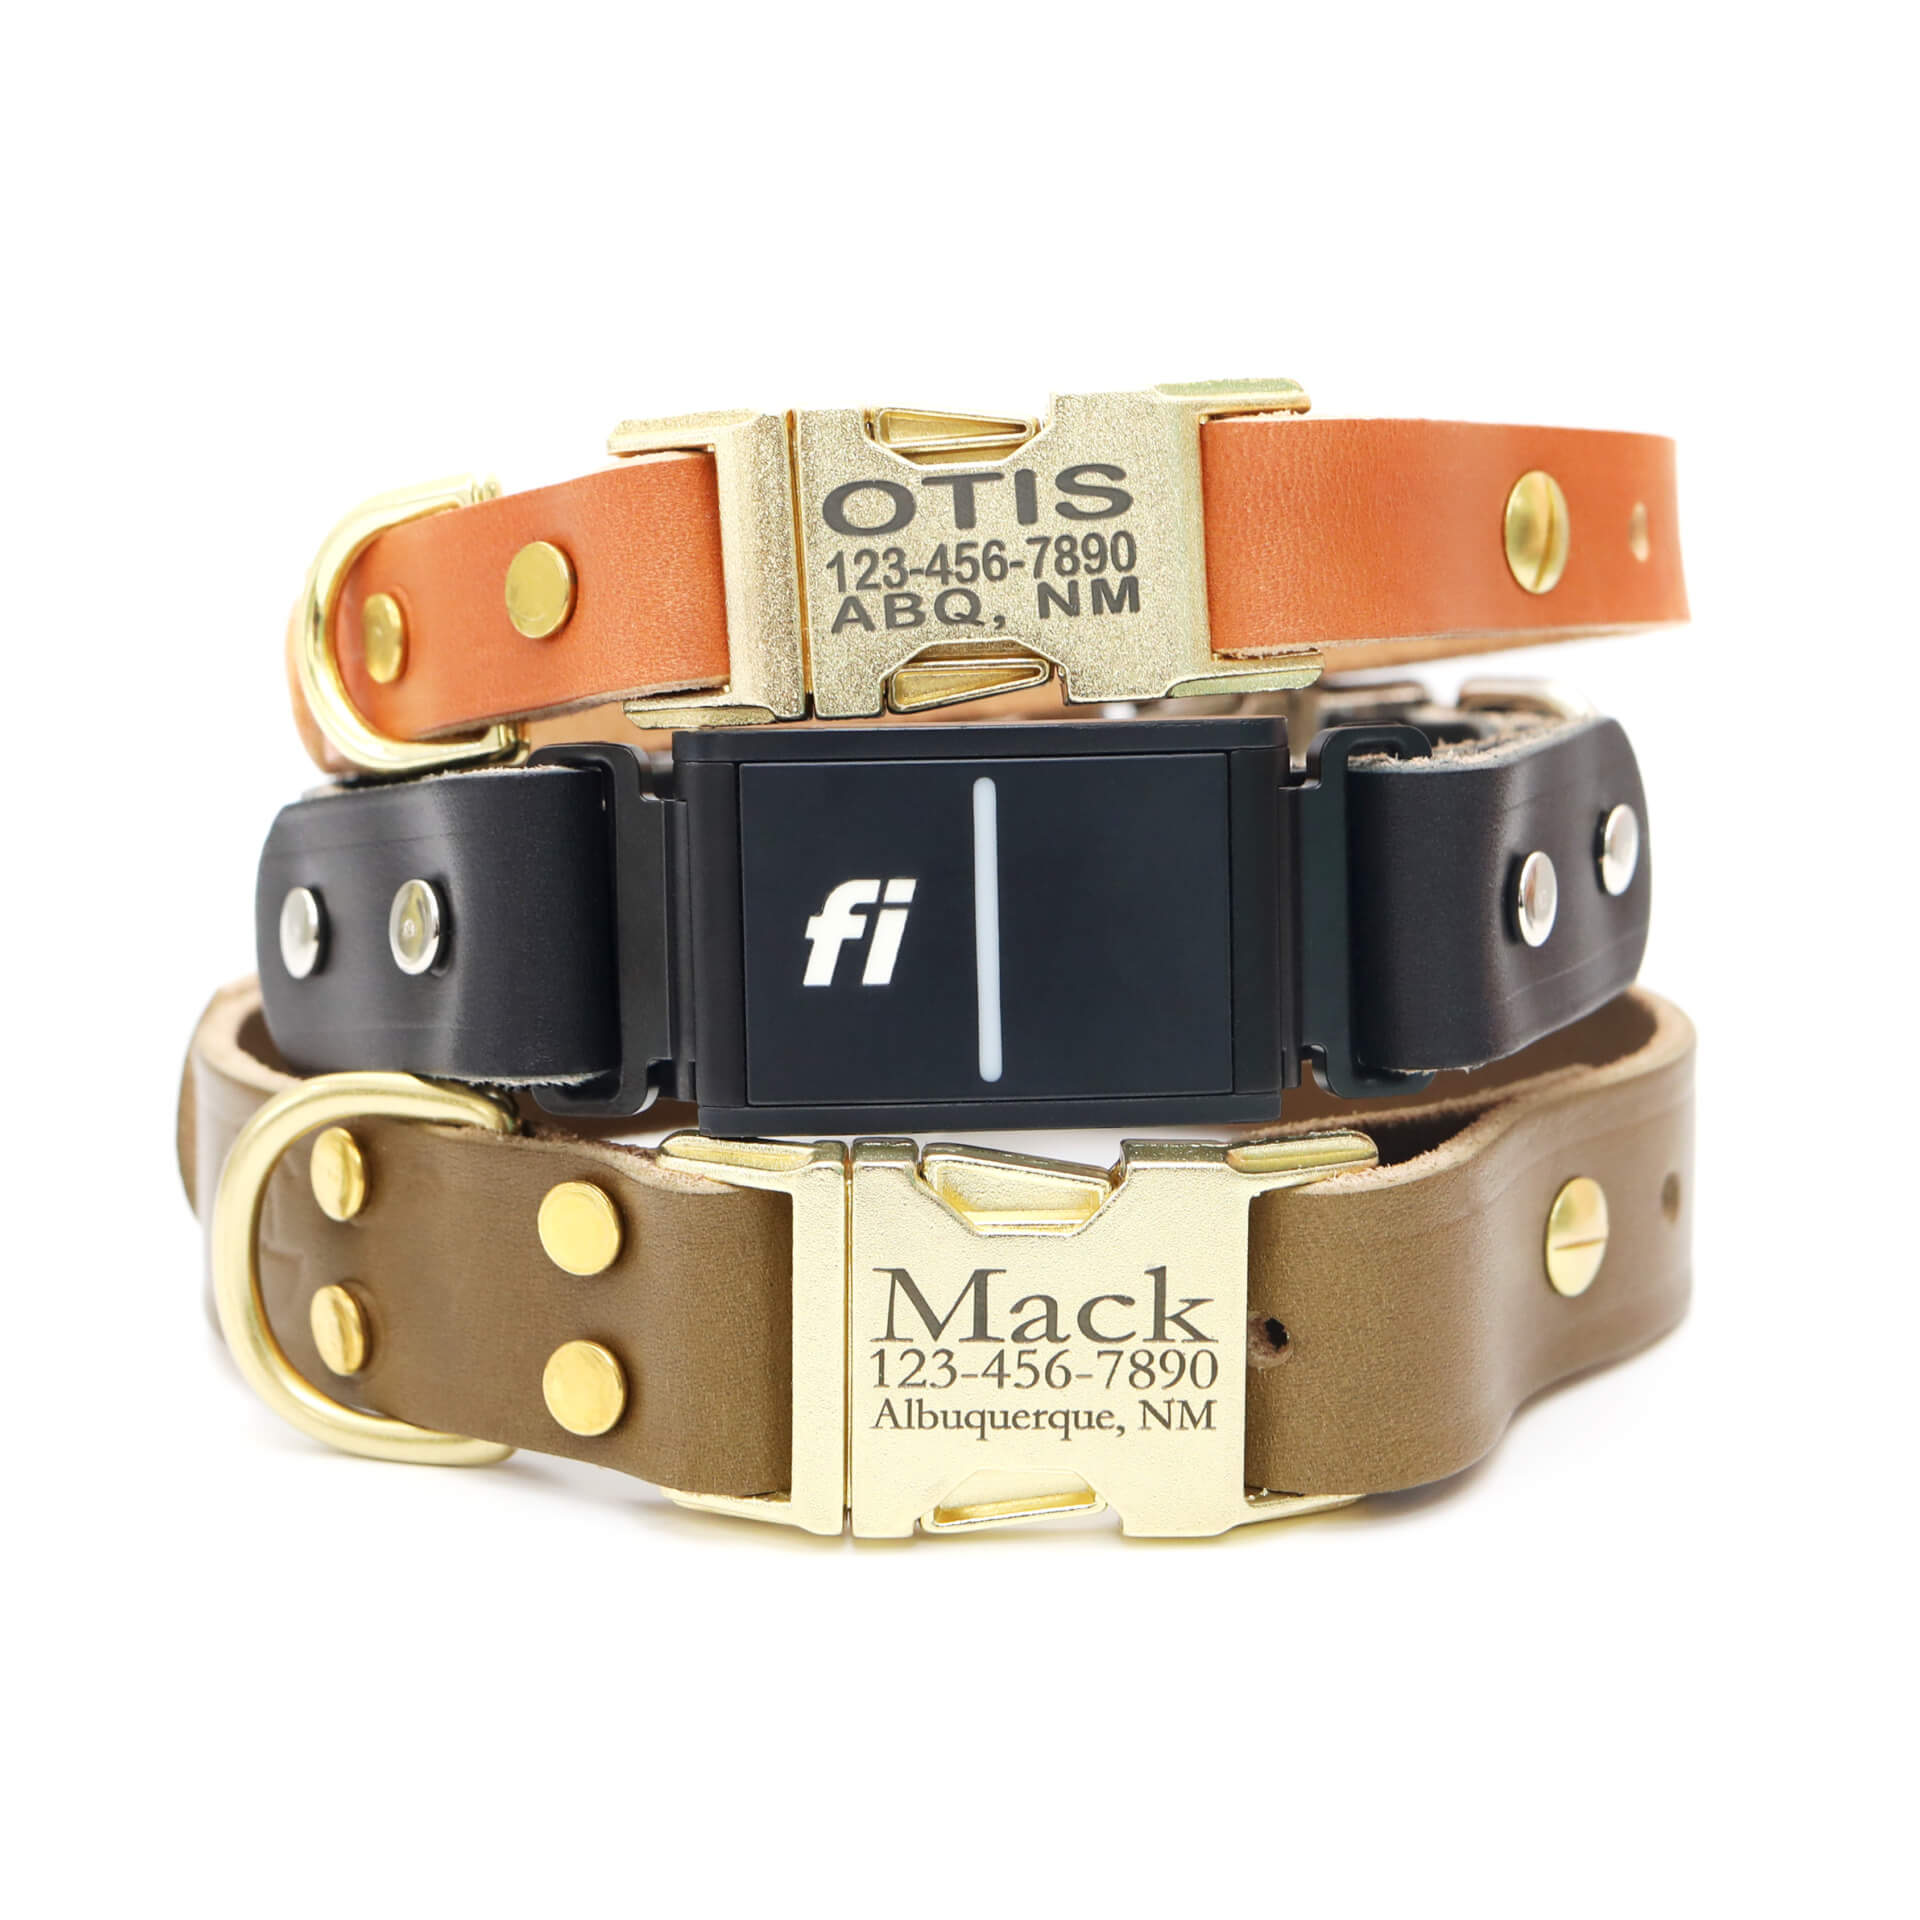
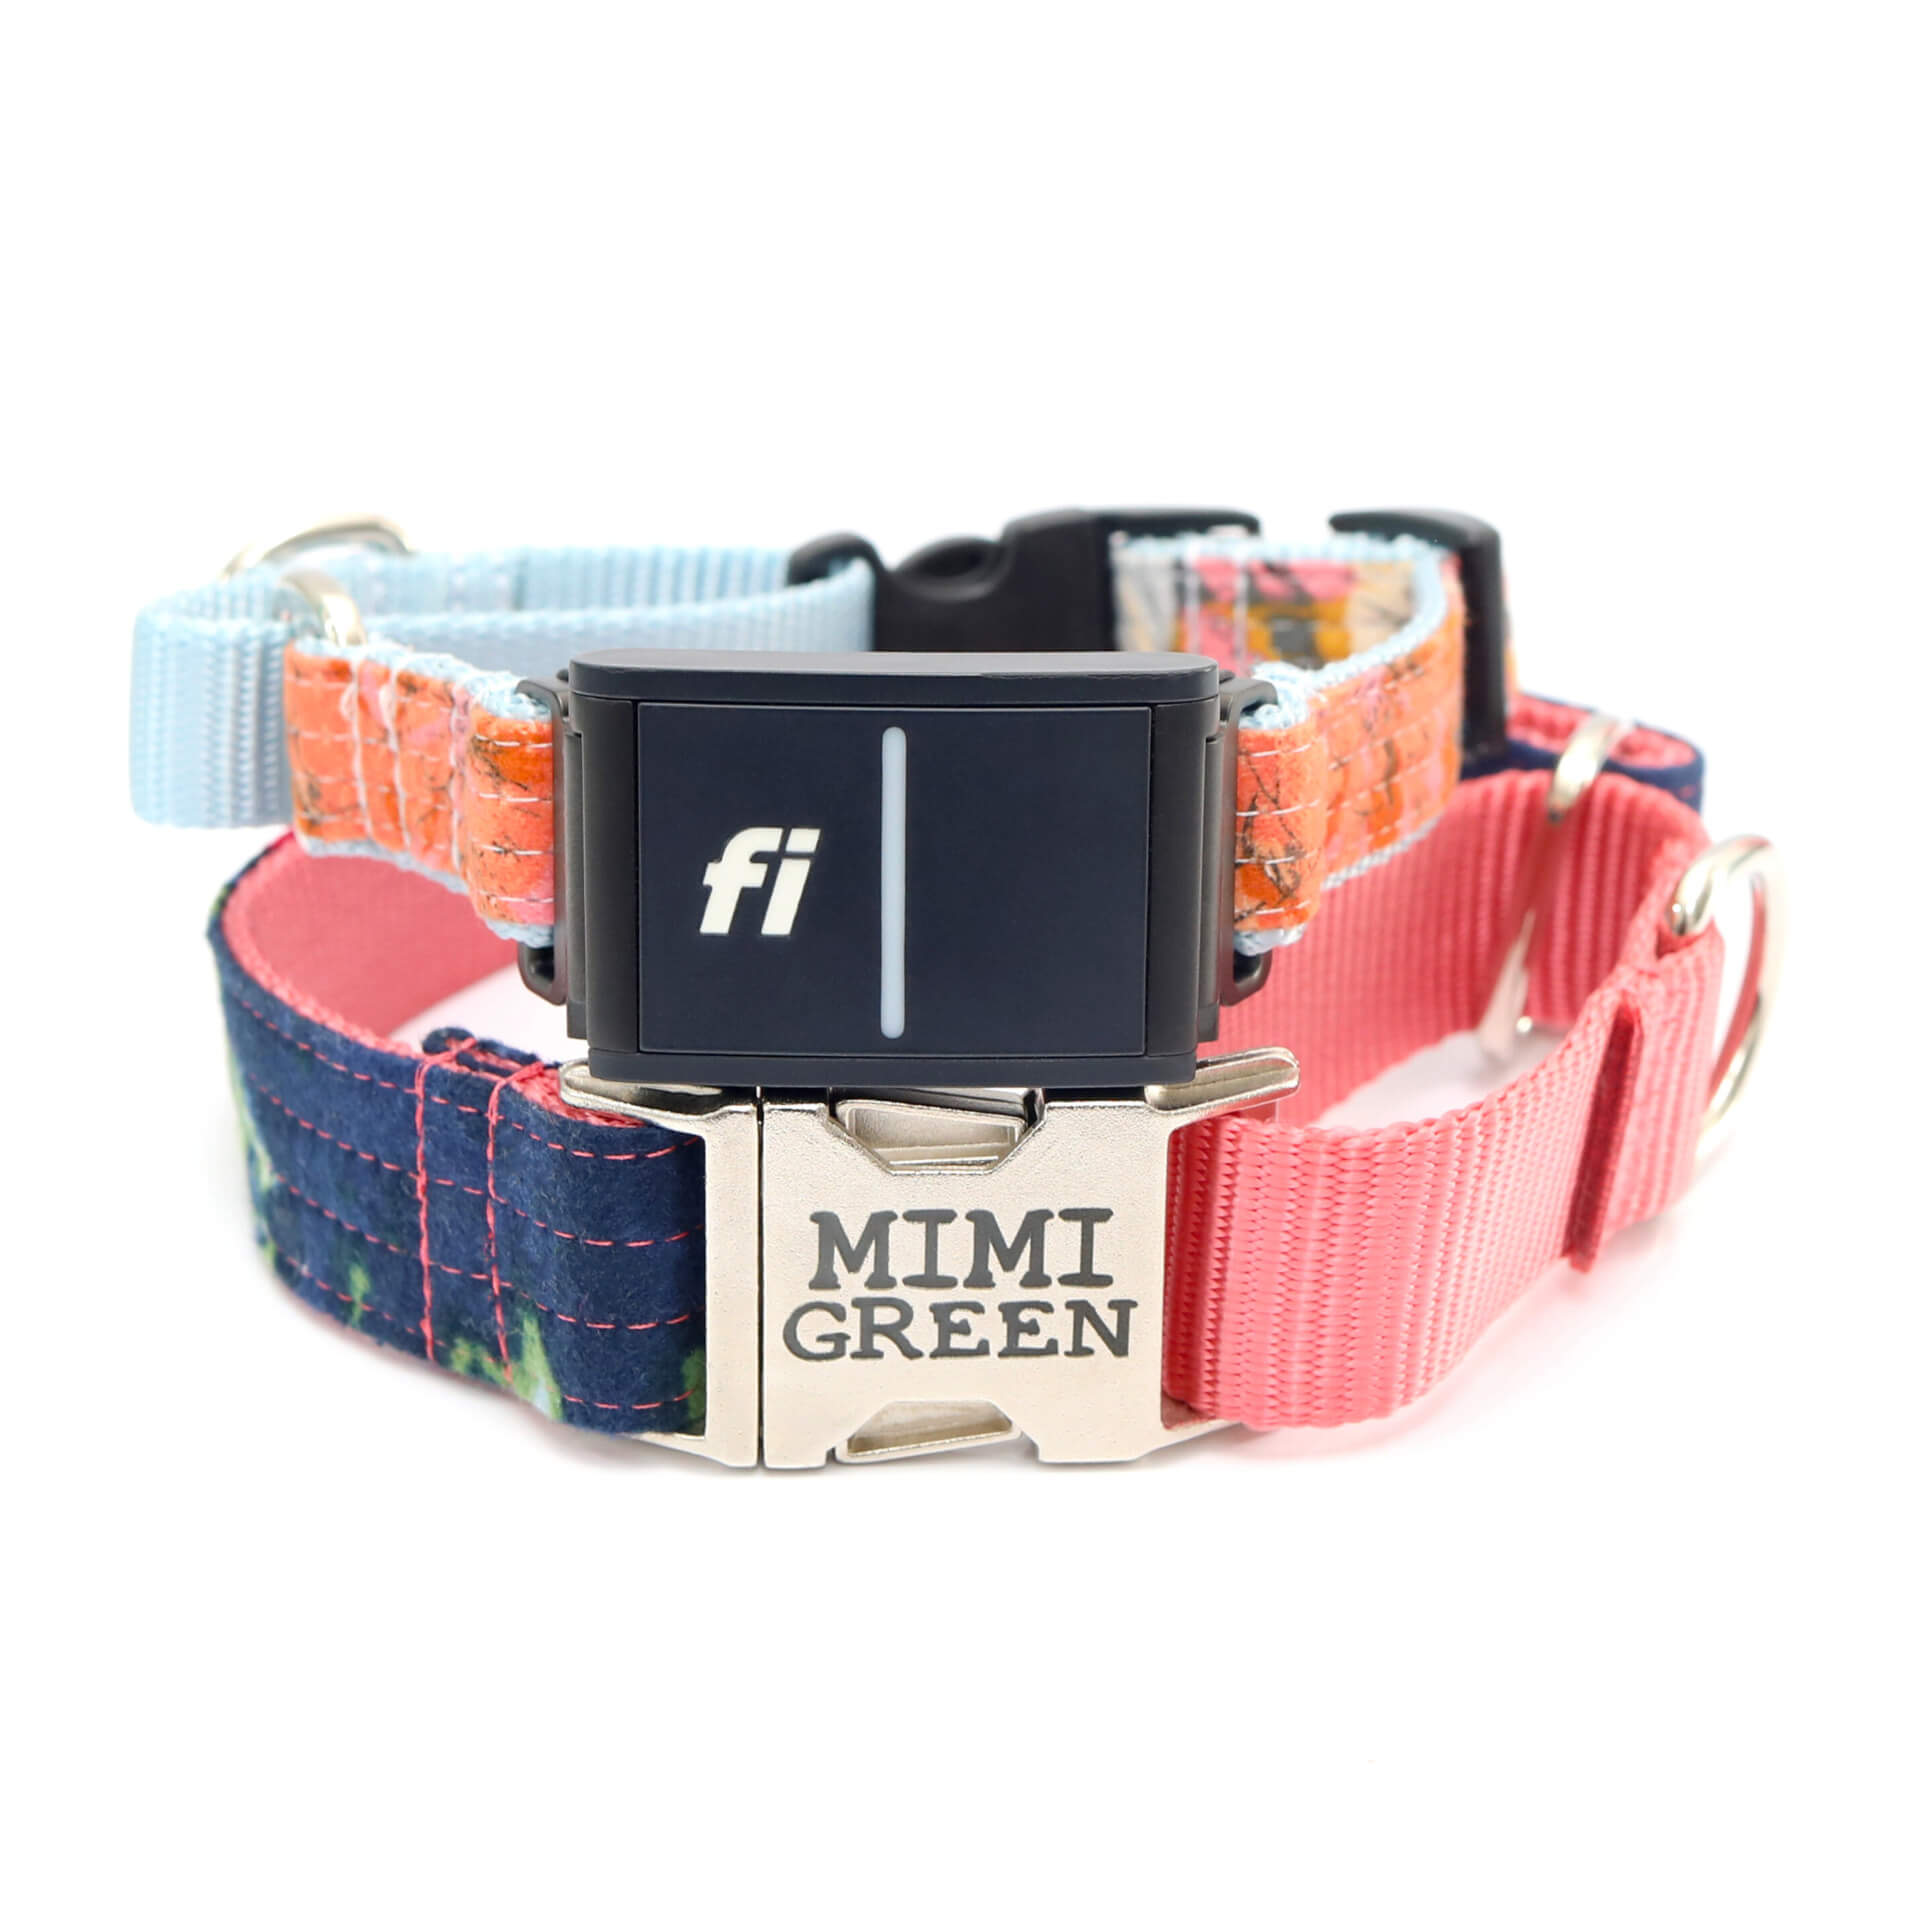
You must also choose the type of buckle you want. Options for side release buckles include plastic, hybrid and zinc diecast. With side release buckles, you have the option to get a personalized buckle engraved with your dog’s name and contact information.
2. Take Measurements
You’ll then want to measure your dog’s neck to find the correct measurements to cut your materials. Use a cloth tape measure and wrap it around the center of your dog’s neck, a few inches lower than the bottom of their head. A collar that fits correctly allows two fingers to fit between the collar and the dog’s neck comfortably. Keep in mind that you’ll want your material to be several inches longer than your dog’s measurements, since the final product will turn out to be a shorter length. We’ll address how to choose specific measurements later on.
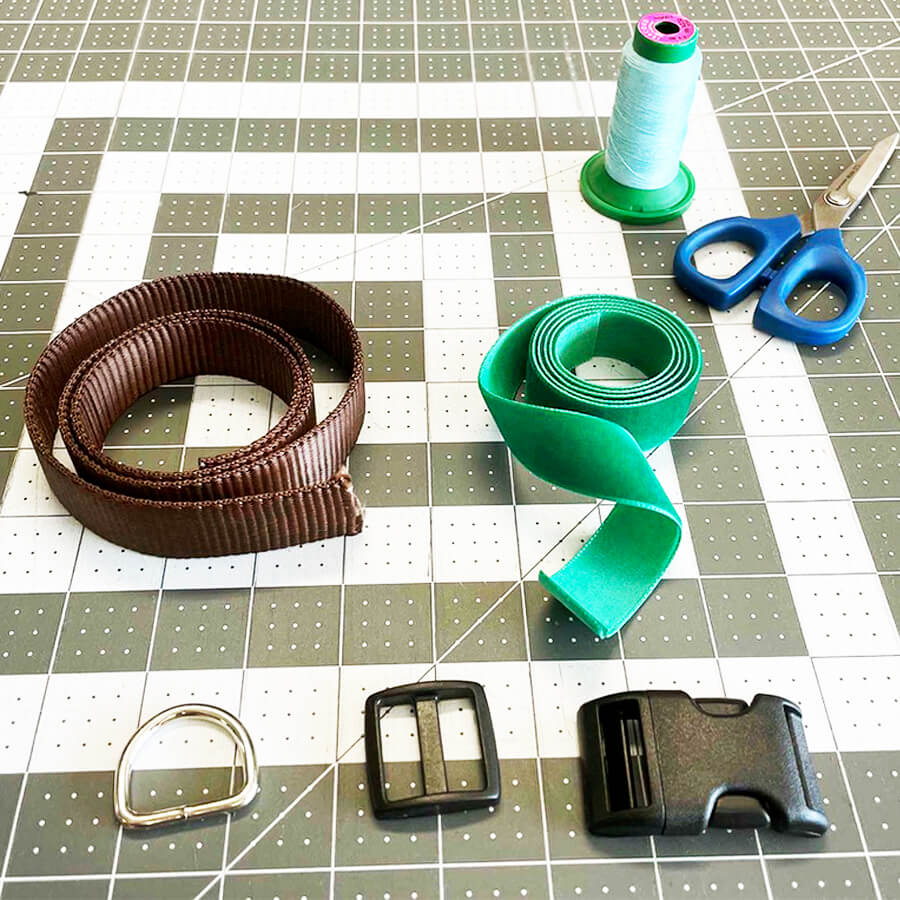
3. What You’ll Need
Before you start making your dog collar, make sure you have all the required tools and materials. Here’s a list of what you’ll need:
- Sewing Machine
- Your choice Ribbon or overlay. (optional)
- Nylon Webbing
- Contoured Side Release Buckle
- Triglide Slide
- D-Ring
- Sewing Machine
- Iron
- Thread
- Scissors
- Measuring Tape
- Spray Starch (optional)
How to Make a Dog Collar
3. Cut Your Materials
The measurements you’ll use to cut your materials will depend on the size of your dog.
Again, as a general rule when cutting your materials, you’ll want to make sure you cut the fabric at a longer length than you want the collar to be, as the finished length will naturally be shorter. Below is a general idea of how much material you should use, depending on the dog’s neck size:
- Small (11- to 13-inch neck size): 22-inch nylon webbing/leather length and 24.5-inch fabric length
- Medium (13- to 15-inch neck size): 25-inch nylon webbing/leather length and 27.5-inch fabric length
- Large (13- to 15-inch neck size): 31-inch nylon webbing/leather length and 33.5-inch fabric length
Additionally, if you decide to work with nylon webbing specifically, there are certain steps you are recommended to take in order to create a durable product. Since nylon webbing has the tendency to unravel when it’s cut, it’s important to use a lighter to burn each end of the nylon webbing. This will melt the material together and prevent fraying.
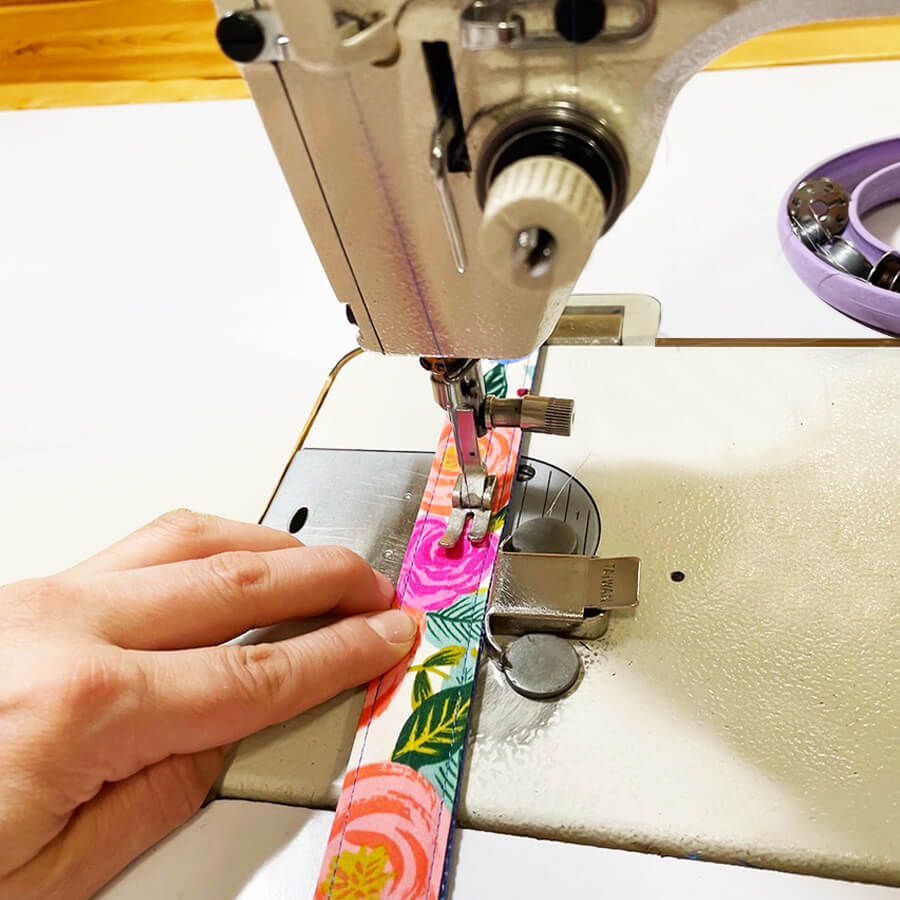
4. Prep and Sew Your Fabric
Before getting ready to sew, take the fabric you want to use and spray it with starch. Then, take a clothing iron and smooth out the fabric to remove wrinkles.
Then, you’re going to begin sewing your fabric into a long tube shape. Using a sewing machine, sew the fabric inside-out so the stitching is hidden. Then, cut off any excess fabric. Once the fabric is sewn together, carefully turn the fabric so the fabric is no longer inside-out and is showing the pattern correctly. This can be done several ways. One way to flip the fabric the right way is The Chopstick Method. With this method, you’ll insert a tube into the fabric. Once the tube reaches the closed end of the fabric, you’ll take a chopstick to guide the material through the center of the tube.
Once the correct side of the fabric is on the outside, insert your webbing or leather through the fabric. Adjust the fabric and ensure that the seam is in line with the edge of the nylon webbing or leather.
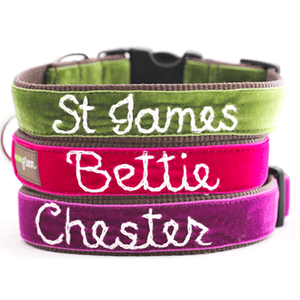
Recommended for first time makers: In addition, for a styled collar with less work, you may want to consider sewing a ribbon, such as the single sided velvet ribbon, grosgrain ribbon, or another of your choice to the top of the webbing.
5. Prep the Dog Collar
Once you have the fabric and webbing or leather aligned, spray the dog collar with starch one again and smooth it down with a clothing iron to remove wrinkles and create a high-quality look.
6. Sew Them Together
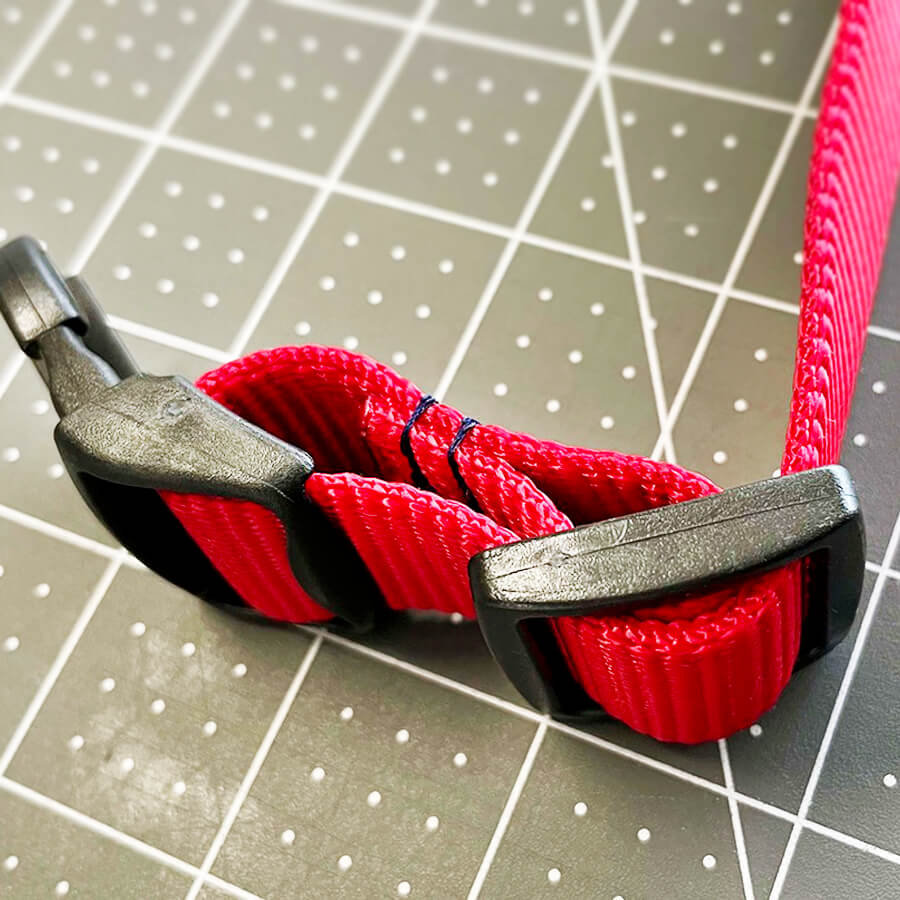
7. Assemble The Tri-Glide
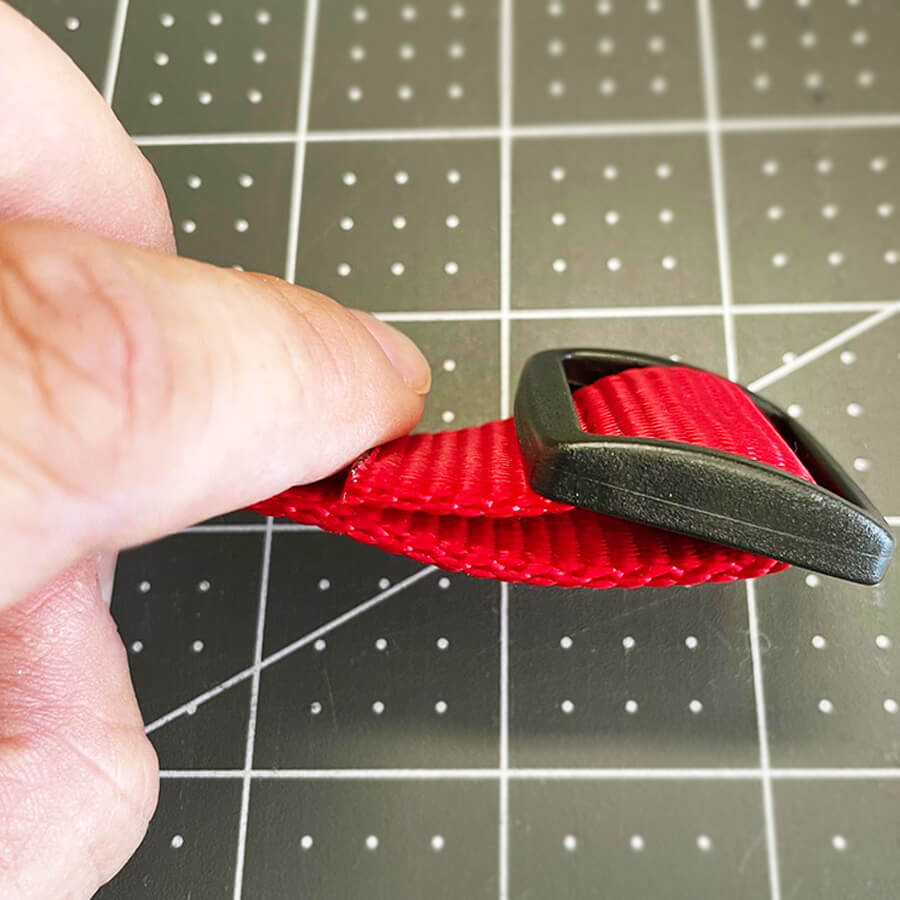
After stitching the materials together, it’s time to assemble the collar. First, you’ll want to slide the tri-glide onto the collar (figure 3). The tri-glide is the part of the collar that helps you adjust the collar’s size.
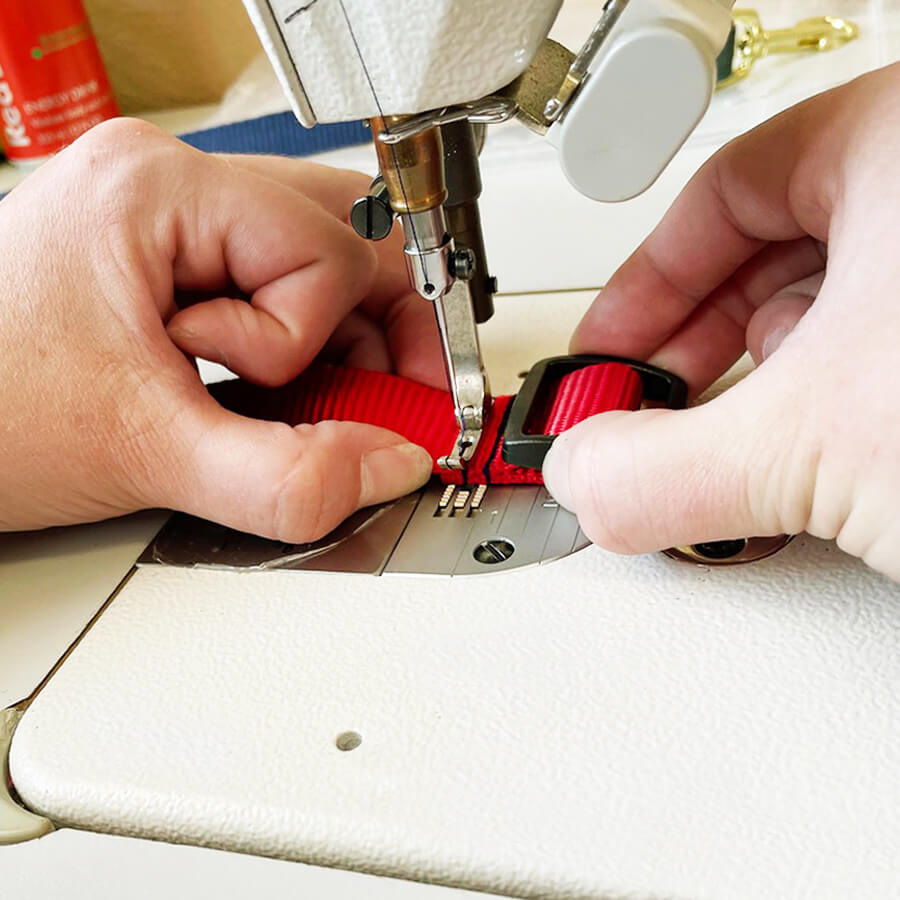
Next you will sew down the short side of the webbing strap to the longer side. (figures 4 &5)
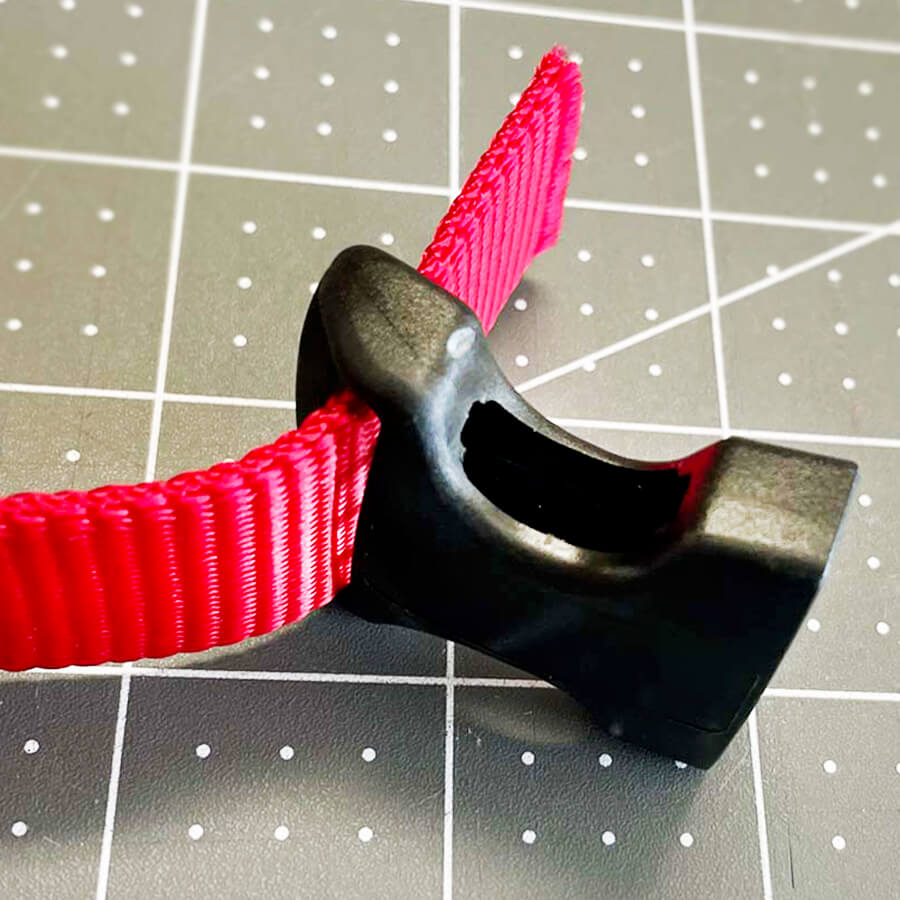
8. The Side Release Buckle
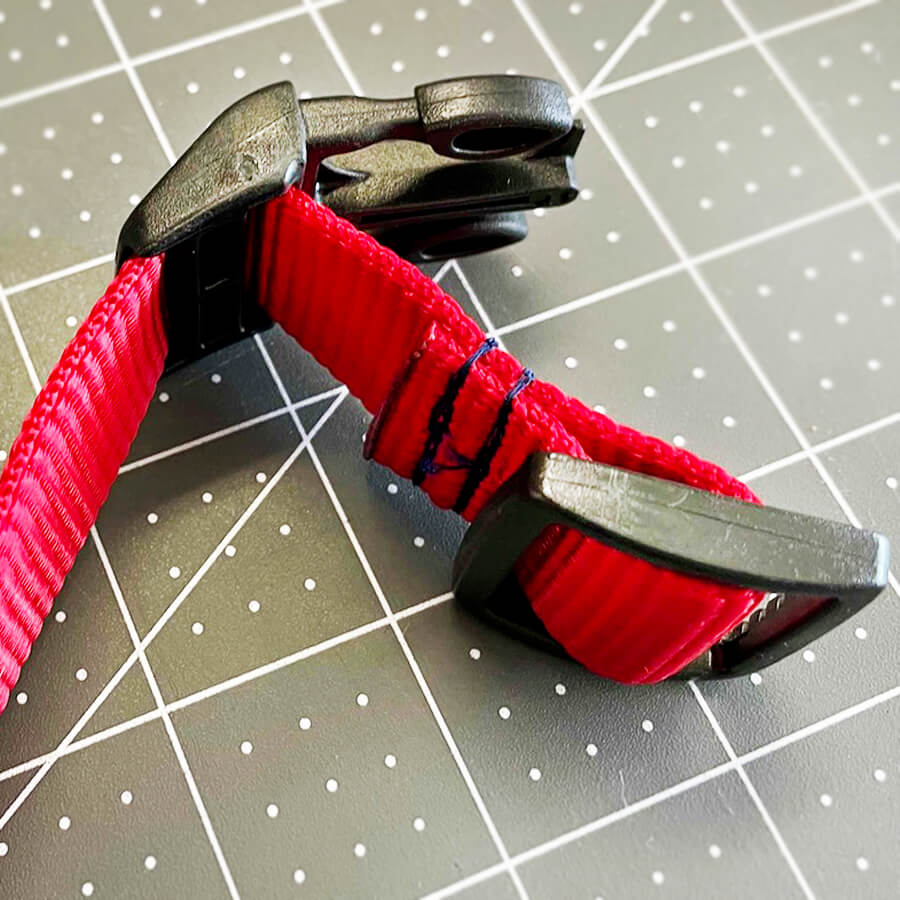
Then weave the strap back through the tri-glide. (figure 6)
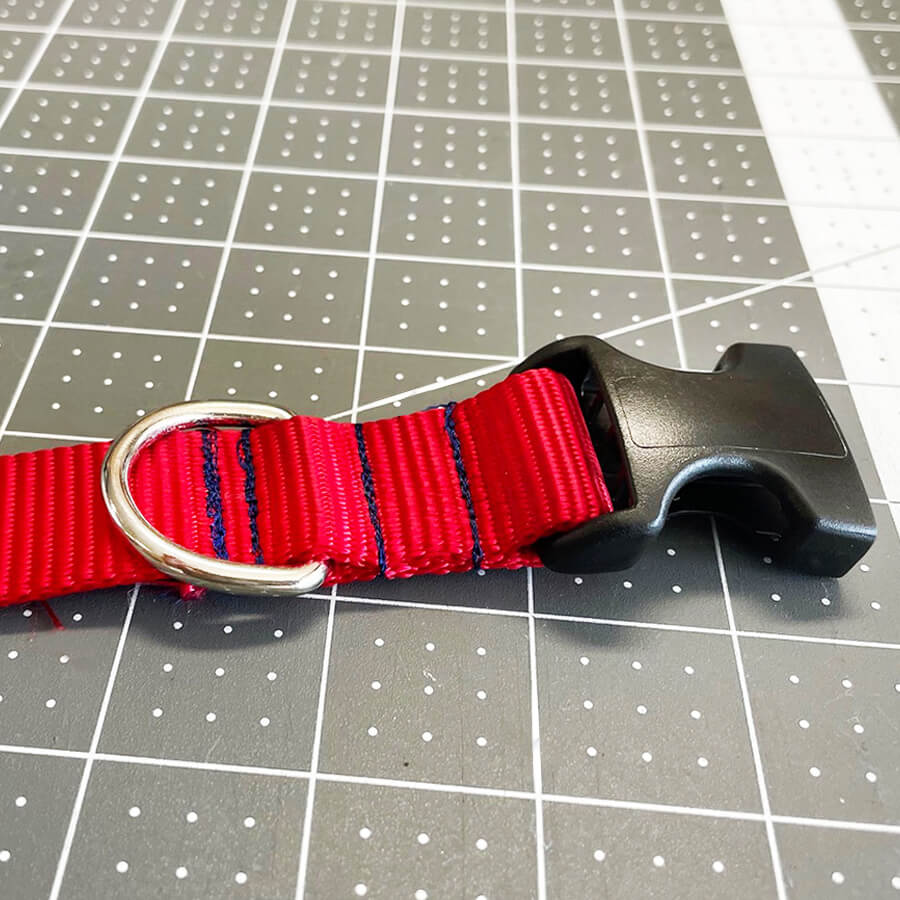
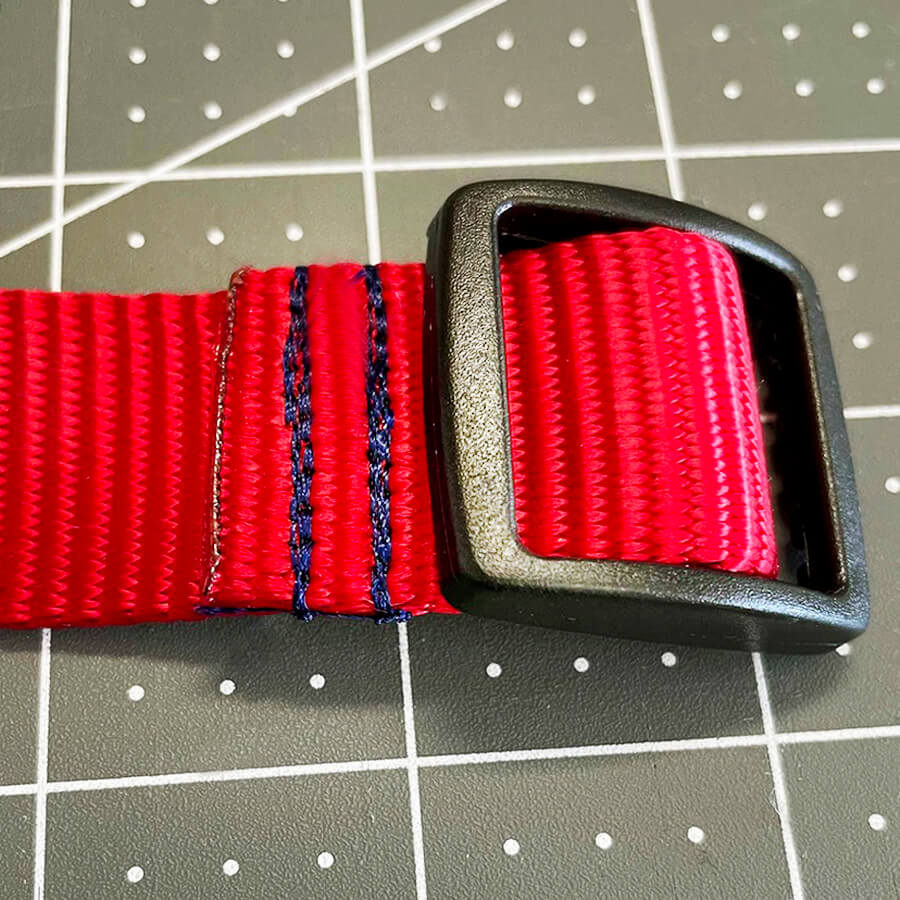
9. Add The D-Ring & Other Half of the Buckle
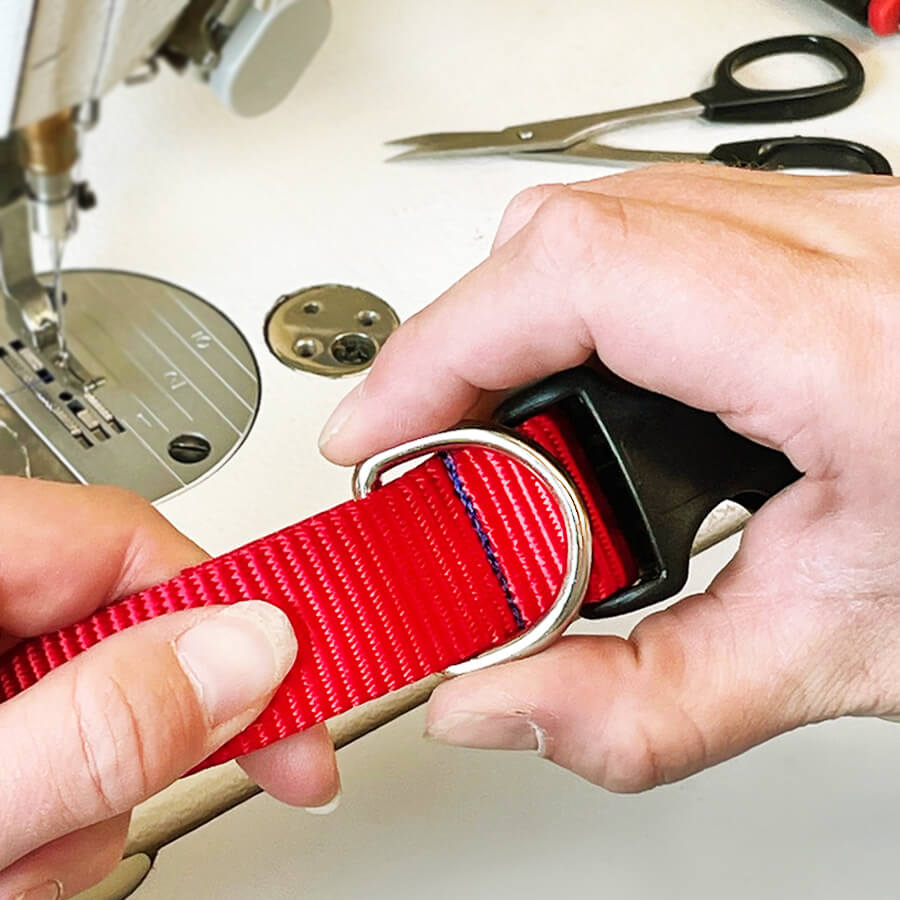
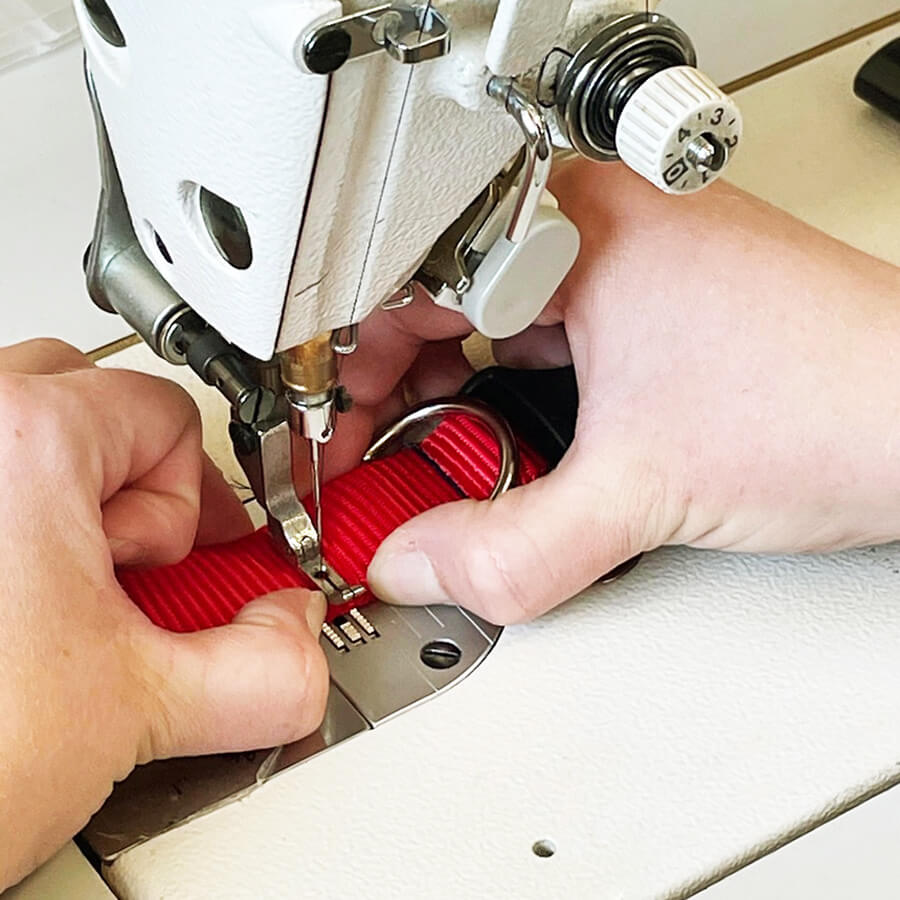
Then, move the D-Ring to a distance of approximately one inch from the pronged side of the buckle. Use a box stitch, or several straight stitches to secure the D-Ring in place. (figure 9)
Finish by trimming excess and loose threads. (figure 10)

Find The Best Materials for All of Your DIY Dog Collar Needs
By following the 9 steps above, you’ll be able to create a high-quality, personalized dog collar for your furry friend or retail store! If you’re in need of materials such as ribbon, durable nylon webbing, leather, or buckles, look no further than Such Good Supply! Such Good Supply is a craft supplier that has a large collection of these items in a variety of materials, colors, and styles. They are always high-quality and can be bought for retail or wholesale. Visit Such Good Supply Co and browse their online selection today.